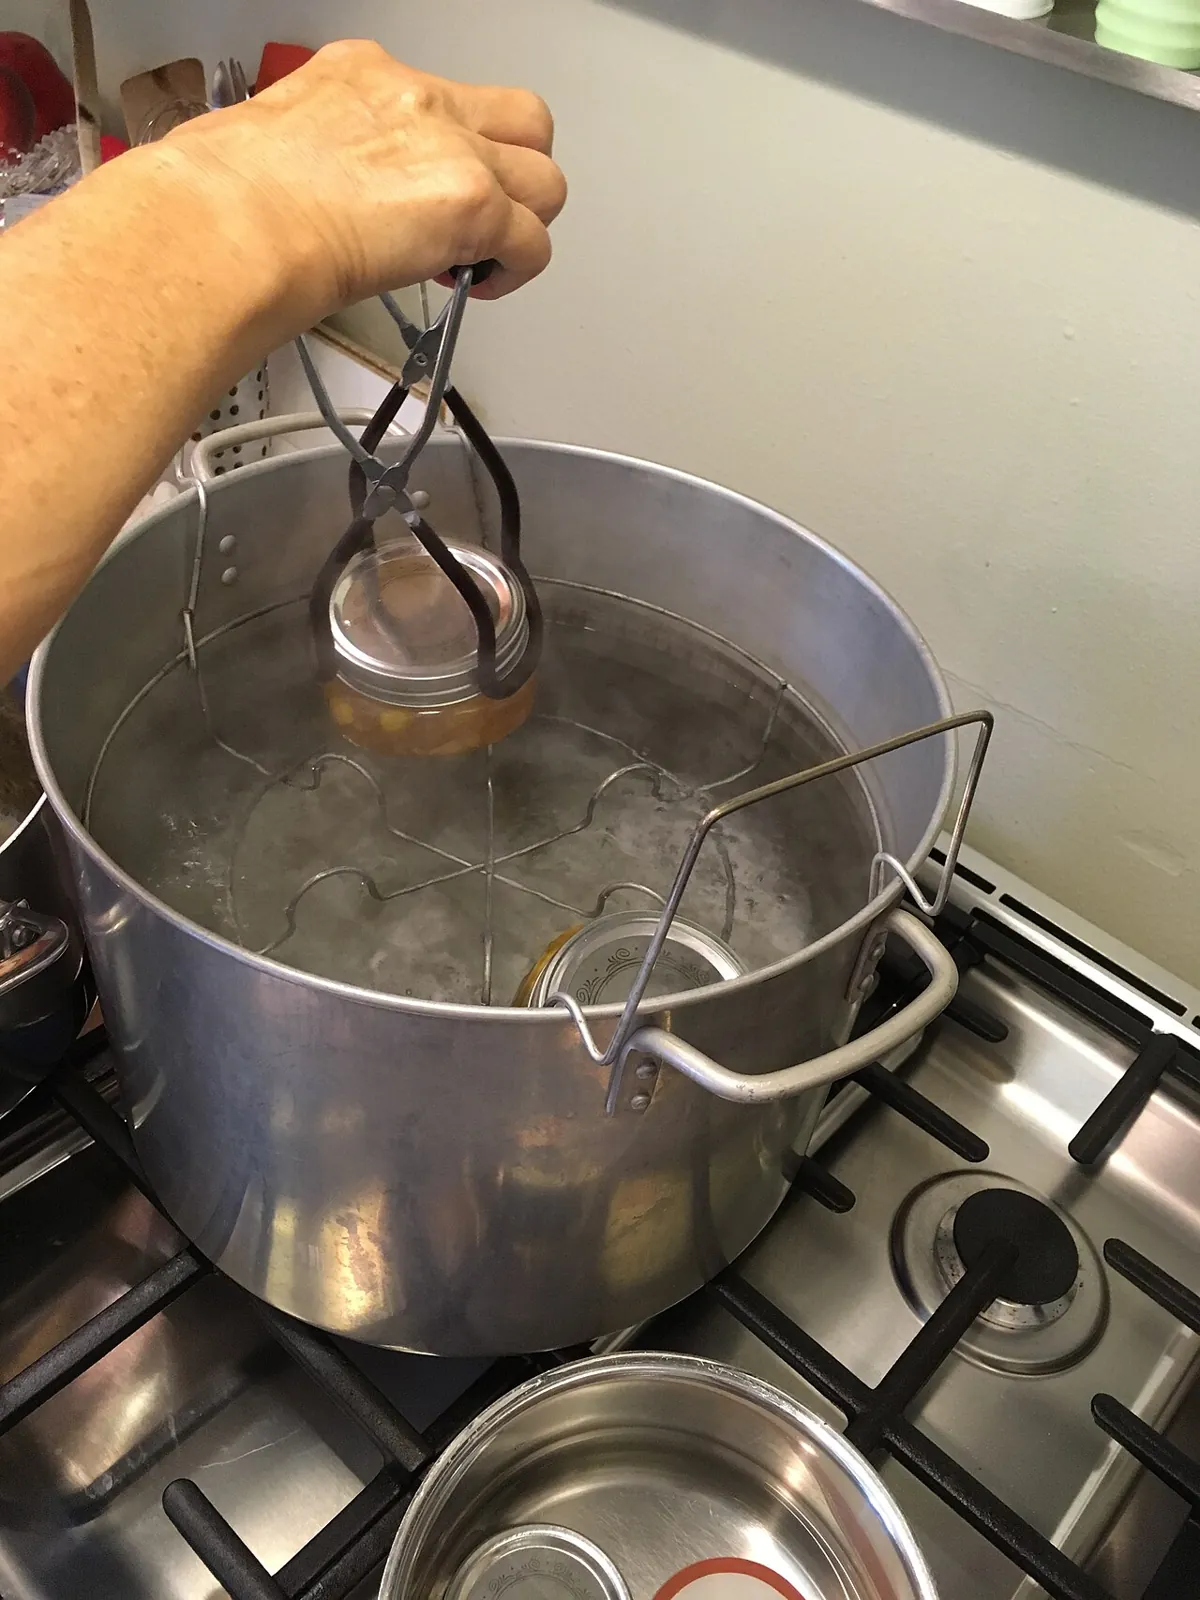
Water-Bath Canning
Canning acid foods in a boiling-water canner: jars and two-piece lids, preparing and sterilizing jars, hot and raw packs, headspace and bubbles, the processing steps, altitude adjustments, cooling, testing seals, and what to do with a jar that didn't seal.
- 5 min
- 7 steps
- 3 questions
- Lesson 23 of 55
In this lesson
- The equipment
- Jars and lids
- Packing and headspace
- Processing
- Cooling and testing seals
- Try it
- What to take from this
Picking up where you left off.
The equipment
- Boiling-water canner: a deep pot with a rack and lid, deep enough for jars to be covered by 1 in. of boiling water with room to boil.
- Mason jars with two-piece self-sealing lids: a flat lid with a sealing compound and a reusable screw band 1. Reuse jars and bands; use new flat lids each time. Unused lids seal well for about 5 years, so buy a year’s supply at a time 1.
- A jar lifter, funnel, plastic bubble remover, ladle, clean towels, and a timer.
Commercial mayonnaise jars can be used with acid foods but break and fail to seal more often; other commercial jars aren’t recommended 1.
Jars and lids
- Wash jars in hot soapy water or a dishwasher and rinse well 1.
- Keep them hot: in simmering (180 °F) water in the canner, or in the closed dishwasher, until filling 1. Hot jars don’t crack when filled with hot food.
- Sterilize only when needed: jams, jellies, and pickles processed less than 10 minutes go into sterile jars. Boil empty jars 10 minutes, plus 1 minute for each 1,000 ft above 1,000 ft 1. Foods processed 10 minutes or longer don’t need presterilized jars 1.
- Prepare lids per the manufacturer’s directions; don’t use dented or defective lids 1.
Quick check
Boil empty jars 10 minutes (plus 1 minute per 1,000 ft above 1,000 ft); longer processes sterilize the jars themselves.
Packing and headspace
- Hot pack: heat the food in syrup, water, or juice and fill hot; it removes air, shrinks food so more fits, and floats less.
- Raw pack: fill with raw food and cover with boiling liquid; quicker, but more floating and color loss.
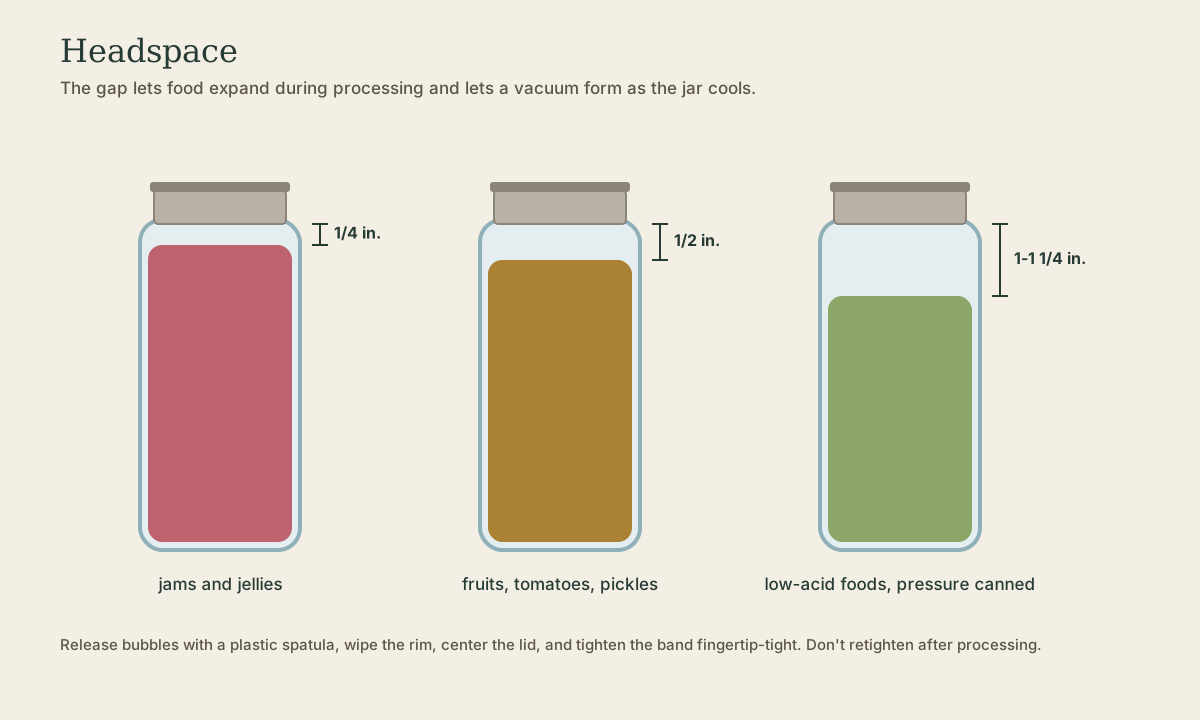
- Headspace: 1/4 in. for jams and jellies, 1/2 in. for fruits and tomatoes in boiling water 1, and as each recipe states.
- Release air bubbles by running a plastic spatula between food and jar; then readjust headspace 1.
- Wipe the rim with a clean damp paper towel, center the lid, and tighten the band per the manufacturer, usually fingertip-tight 1. Too loose leaks; too tight traps air and can buckle lids 1.
Processing
- Fill the canner halfway with water and heat it (about 140 °F for raw packs, 180 °F for hot packs).
- Load filled jars on the rack; add boiling water until it’s 1 in. above the jar tops.
- Bring to a full rolling boil, then start timing. Cover the canner.
- If the boil stops at any point, bring it back and restart the timing from the beginning 1. Add boiling water as needed to keep jars covered 1.
- When time’s up, turn off the heat, remove the lid, and wait 5 minutes before taking jars out 1.

Altitude: use the recipe’s column for your elevation. For example, hot-packed peaches in quarts take 25 minutes at 0-1,000 ft and 30 minutes at 1,001-3,000 ft 1.
Playback is optional. If the player is unavailable, open the video at its source.
Quick check
Time only counts at a full rolling boil.
Cooling and testing seals
Lift jars straight up with a jar lifter onto a towel, 1 in. apart, and let them cool undisturbed for 12-24 hours 1. Don’t retighten bands. Then remove the bands and test each seal 1:
- Press the center: a sealed lid doesn’t move; one that springs back isn’t sealed.
- Tap with a spoon: a sealed lid rings clear; a dull sound means no seal (or food touching the lid).
- Look across the lid: it should be slightly concave.
Unsealed jars: check the rim for nicks, use a new lid, and reprocess within 24 hours for the full time; or refrigerate and eat within several days; or freeze it, adjusting headspace to 1-1/2 in. 1.
Quick check
Check the rim for nicks before reprocessing for the full time.
Try it
Can a small batch of applesauce or a fruit in a tested recipe: four pints. Keep a log of the date, recipe, elevation, pack, start and stop times, and how many sealed.
What to take from this
Use Mason jars with new two-piece lids, kept hot; sterilize only for jams, jellies, and pickles processed under 10 minutes. Leave the recipe’s headspace, release bubbles, wipe rims, and tighten bands fingertip-tight. Process at a full boil with jars covered by an inch of water, restart timing if the boil stops, adjust for altitude, wait 5 minutes, then cool 12-24 hours and test every seal. Reprocess, refrigerate, or freeze jars that didn’t seal.
Lesson complete
Nice work.
Sources for this lesson
- 1Complete Guide to Home Canning, Guide 1: Principles of Home Canning (2015 revision). U.S. Department of Agriculture and National Center for Home Food Preservation. 2015. verifiedBotulinum toxin forms in moist low-acid food at 40-120 °F with under 2% oxygen; pH 4.6 divides acid and low-acid foods; low-acid foods processed at 240-250 °F (10-15 psi); altitude adjustments above 1,000 ft; headspace 1/4, 1/2, and 1-1 1/4 in.; sterilize jars for processes under 10 minutes; vent pressure canners 10 minutes; check dial gauges yearly; no open-kettle, oven, microwave, or dishwasher canning; test seals after 12-24 hours; store below 95 °F; spoilage signs and detoxifying suspect jars by boiling 30 minutes; pickling salt and 5% vinegar; don't alter tested recipes.