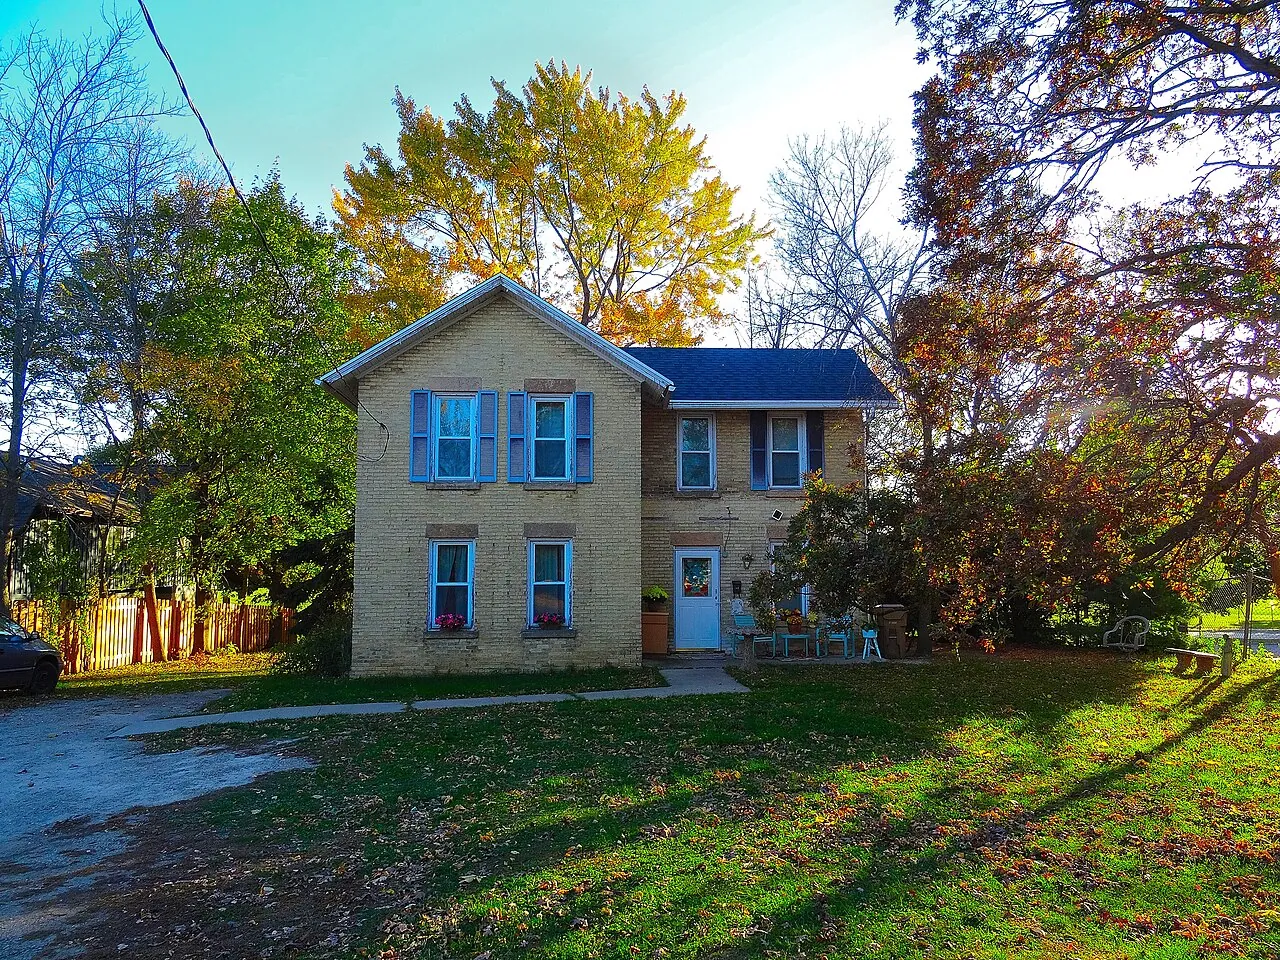
Assessing an Old House
How to walk an old house the way HUD's rehabilitation inspectors do: a quick walk-through for overall care and age, then site drainage, roof and chimney, walls and windows, the basement and the pattern of its foundation cracks, framing probed with an awl and a moisture meter, and the electrical, plumbing, and heating systems, including how to read service capacity and what knob-and-tube and oversized fuses mean. Ends with ranking the work: stop water, make it safe, make it sound, then comfort and finish.
- 5 min
- 6 steps
- 3 questions
- Lesson 25 of 111
In this lesson
- Start with a walk-through
- Outside first
- The basement
- Systems
- Rank the work
- What to take from this
Picking up where you left off.
Start with a walk-through
HUD’s guide for inspecting houses before rehab starts with a quick walk-through before any detailed checking: note how well the place has been kept up, its style and probable age, the quality of its design and construction, and whether its layout works or will need major changes 1. A house that’s obviously been maintained is far less likely to hide serious problems 1.
.jpg)
Then go system by system with a flashlight, an awl, a moisture meter, binoculars for the roof, and a notebook. Through all of it, look for one thing above all: water. HUD’s guide puts it plainly: water is usually a building’s biggest enemy, and a dry building doesn’t get rot, subterranean termites, or rusted equipment 1.
Outside first
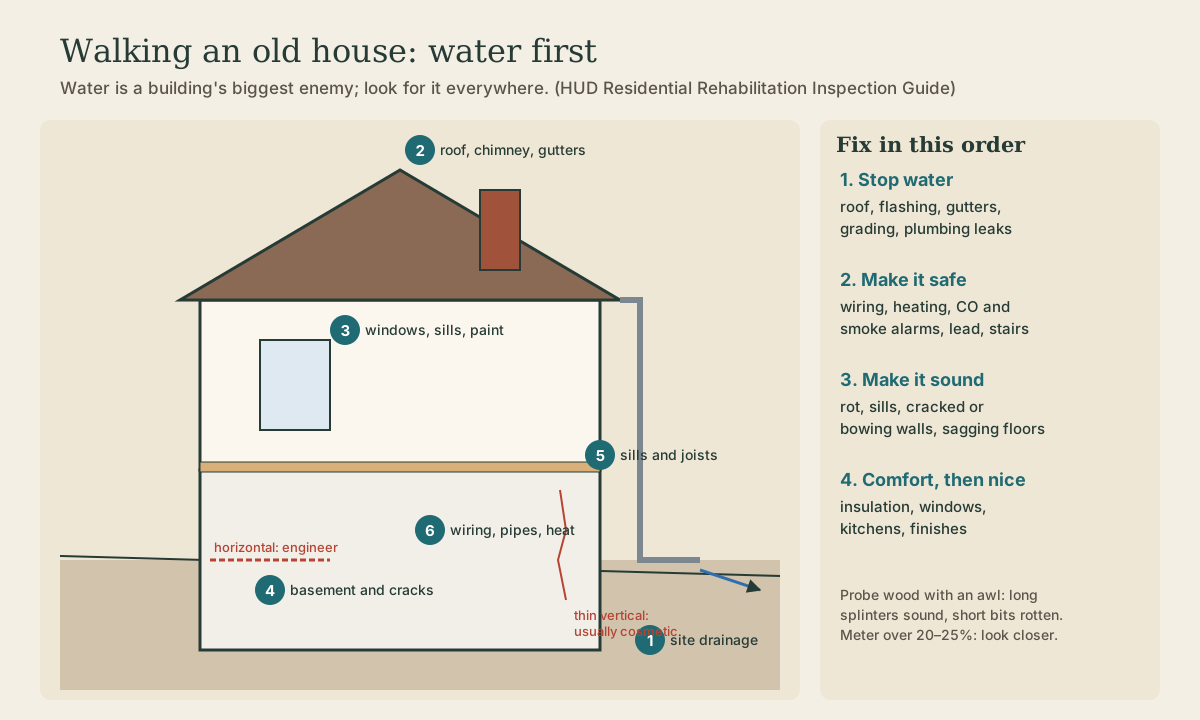
- Site drainage. The ground should slope away from every side of the house, and downspouts and drains should carry water away. Mounded planting beds and bed edging often trap water against the foundation. Most wet basements come from poor site drainage 1, which is also the cheapest thing to fix.
- Roof, flashing, and chimney. From the ground with binoculars, then from the attic: missing or curling shingles, rusted or loose flashing at the chimney and valleys, a leaning chimney or eroded mortar, and stains on the roof boards.
- Walls and windows. Peeling and blistering paint marks where water is getting in. Check sills, the bottoms of window and door frames, and porch posts and steps, where rot starts.
- Lead in the soil. Old houses shed lead paint chips along the foundation when they were scraped and repainted; HUD suggests testing the soil where children will play 1.
Quick check
Regrade so ground slopes away and extend downspouts before anything expensive.
The basement
The basement shows the house’s history of water and movement.
- Moisture: dampness, water stains, peeling paint, white crusty efflorescence, and rust on anything metal 1. Find the source: walls, floor cracks, a floor drain, plumbing, or a condensate line.
- Cracks: read their pattern. Thin vertical or diagonal cracks from shrinkage and temperature movement are common and usually cosmetic once their cause is known 1. Horizontal or sweeping cracks in a block or brick wall, especially with the wall bowing in, come from soil pressure, frost heave in saturated soil, or bad backfilling 1. Those are structural, and in a Wisconsin basement they deserve an engineer’s look before you buy or finish anything.
- Framing: probe the sill plate and joist ends with an awl, especially under bathrooms, at the foundation, and near any stain. Sound wood comes up in long fibrous splinters; decayed wood lifts in short, broken pieces, and wood reading over 20 to 25 percent moisture on a meter needs a closer look for rot or insects 1. Look for small holes and powdery frass from beetles.
Quick check
Thin vertical shrinkage or thermal cracks are usually cosmetic; horizontal ones are structural warnings.
Systems
- Electrical service. Find three ratings: the service entry conductor, the panel or disconnect, and the main breaker or fuses. The house’s service capacity is the lowest of the three, and a main rated higher than the other two means the system shouldn’t be used until an electrician evaluates it 1. Then compare it with what the house will need after the work.
- Wiring. Knob-and-tube wiring, common before 1930, runs single wires on porcelain knobs and through porcelain tubes. HUD recommends replacing it during rehab, though if it’s sound, unaltered, and has enough capacity it may still be acceptable; check with the local inspector 1. Look out for 20 or 25 A fuses on lighting circuits, piles of blown fuses, or breakers taped on: all signs of overloading 1.
- Plumbing. The plumbing course covers old galvanized supply pipe (low pressure from inside corrosion) and cast-iron drains; check for leaks, low flow, and rusty water.
- Heating. Check the age and condition of the furnace or boiler, its flue, and whether there are CO and smoke alarms (the mechanical lessons).
Playback is optional. If the player is unavailable, open the video at its source.
Quick check
And a main rated higher than the conductor or panel means stop and call an electrician.
Rank the work
When the notebook is full, sort everything into four piles and do them in order:
- Stop water: roof, flashing, gutters and downspouts, grading, plumbing leaks. Everything else depends on it.
- Make it safe: overloaded or damaged wiring, unsafe heating or venting, missing CO and smoke alarms, lead paint around children, loose stairs and railings.
- Make it sound: rotted sills and joists, bowing walls, sagging floors.
- Comfort, then finish: insulation and air sealing, window repair, then kitchens and finishes.
Money spent on finishes before the water’s stopped tends to get spent twice.
What to take from this
Walk the whole house first, then look everywhere for water: grading and downspouts, roof and flashing, paint failure, basement stains and efflorescence. Read crack patterns (horizontal and bowing means an engineer; thin vertical is usually cosmetic). Probe wood with an awl and a meter. Service capacity is the lowest of conductor, panel, and main ratings; knob-and-tube and big fuses on lighting circuits flag electrical work. Then fix in order: water, safety, structure, comfort.
Lesson complete
Nice work.
Sources for this lesson
- 1Residential Rehabilitation Inspection Guide. U.S. Department of Housing and Urban Development, Office of Policy Development and Research. 2000. verifiedStep-by-step evaluation of an existing house: start with a walk-through noting maintenance, age, design quality, and layout; 'water is usually a building's biggest enemy'; ground should slope away and most wet basements come from poor site drainage; horizontal or sweeping cracks in block or brick foundation walls come from soil pressure, frost, or backfilling, while many vertical thermal and shrinkage cracks are cosmetic; probe suspect wood, and wood over 20 to 25 percent moisture deserves examination (sound wood splinters long, decayed wood lifts in short pieces); service capacity is the lowest of the service conductor, panel, and main breaker ratings; knob-and-tube wiring should be replaced during rehab but can be acceptable if sound; 20 or 25 A fuses on lighting circuits signal overloads. Lead paint: most pre-1940 homes heavily leaded, up to half of 1940-1960 homes, far fewer 1960-1978. Lists asbestos locations and says leave sound material alone; abatement by qualified contractors.