Bending Wood
Steam bending and bent lamination: estimating strain from thickness and radius, choosing and preparing stock, the compression strap, rehearsing the transfer, abort signals on the form, calculating a lamination stack, form design, and reading failures.
- 7 min
- 8 steps
- 3 questions
- Lesson 130 of 160
In this lesson
- Start with strain, not optimism
- Steam bending: success is decided before the box
- Bent lamination: calculate the stack
- Which failure says what?
Picking up where you left off.
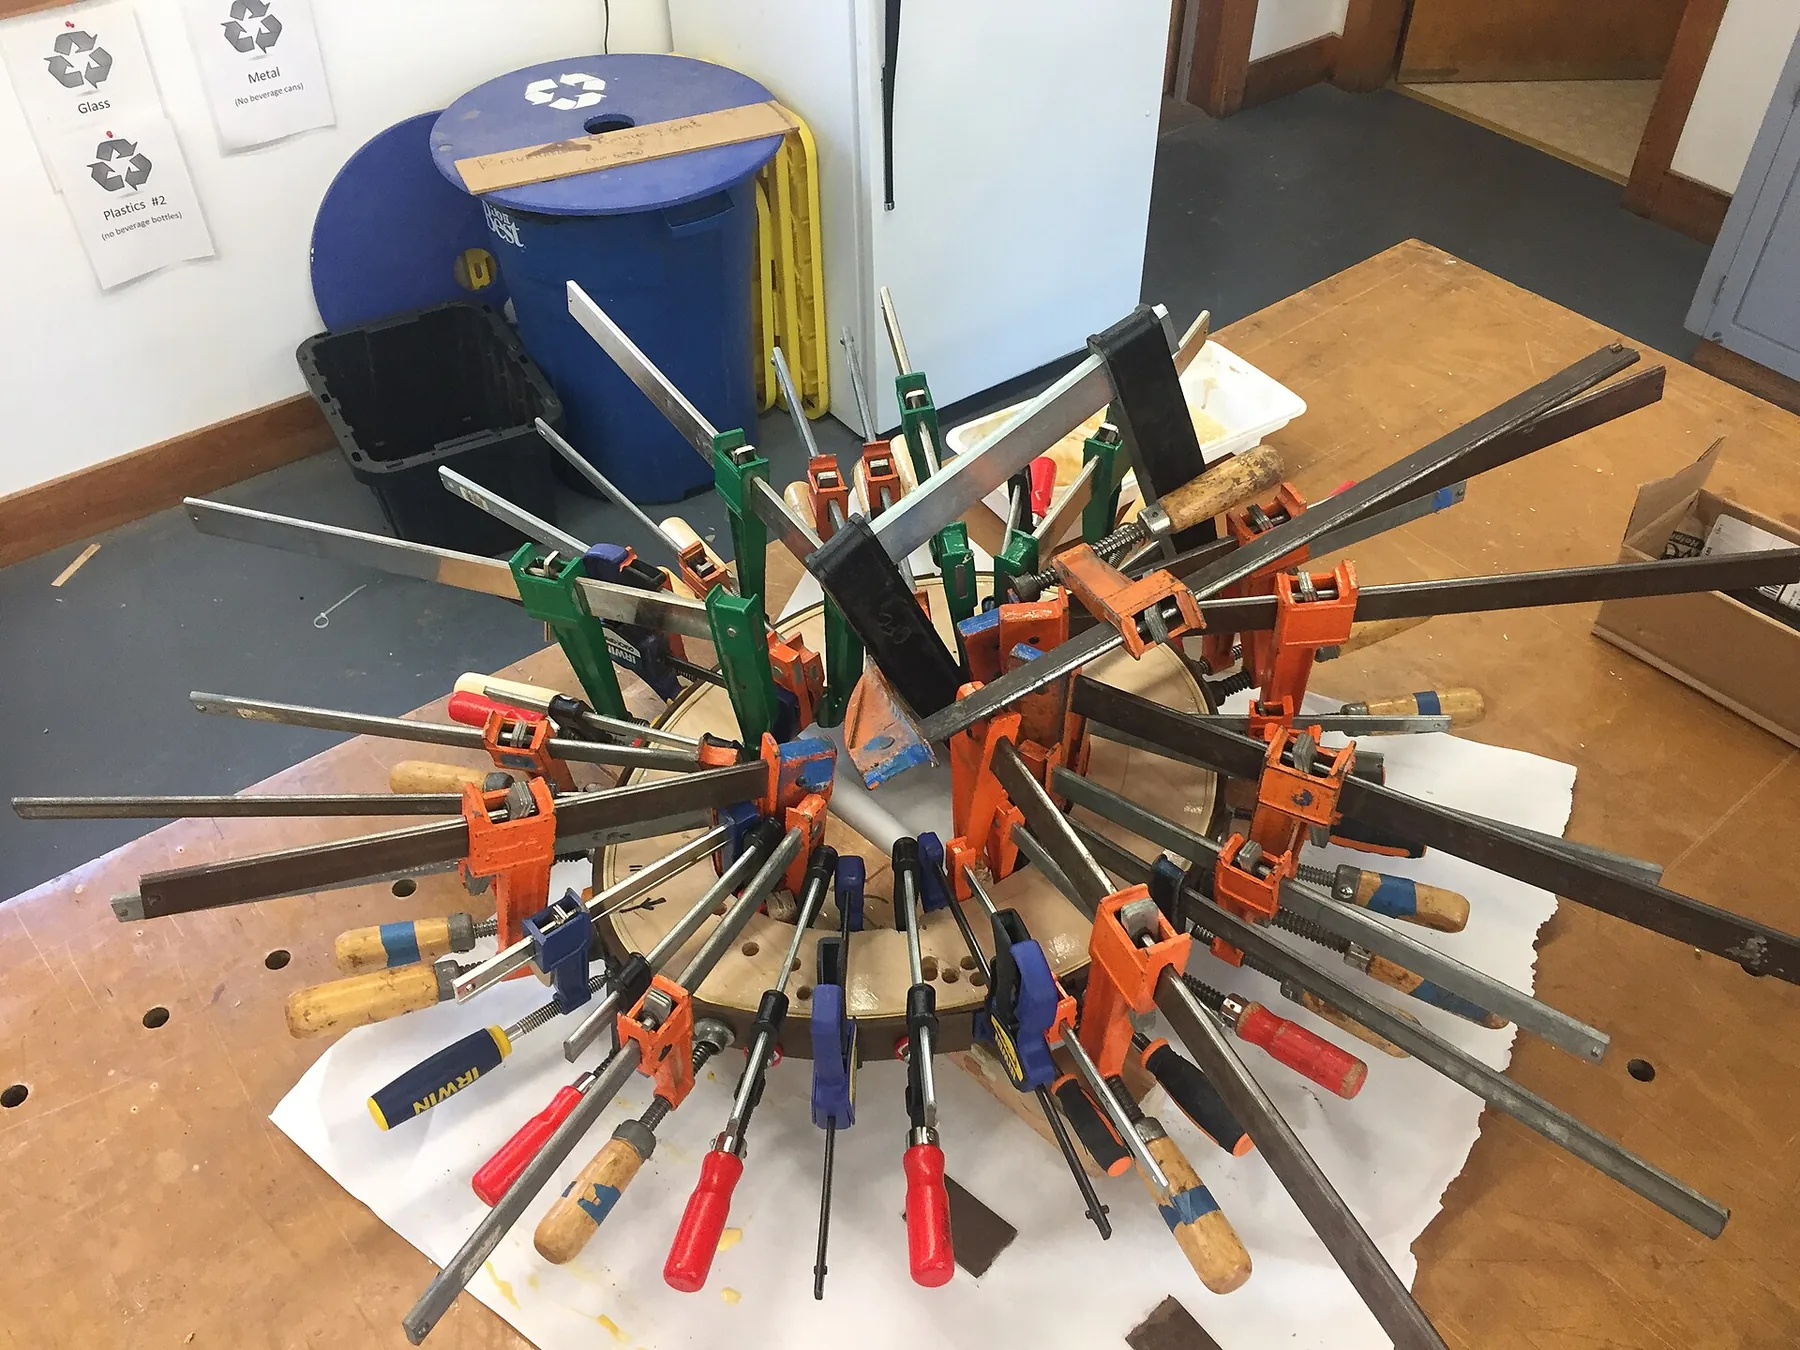
Chairmakers bend wood by two main routes. Steam bending softens one solid piece, then holds it while it cools and dries. Bent lamination divides the thickness into flexible plies and glues them together on a form. Both can make a convincing crest or arm. They fail for different reasons, demand different shop rhythms, and leave different evidence in the finished chair.
The design question comes first: does the part need the uninterrupted grain and visual lightness of a solid bend, or is a visible glue-line stack acceptable? A published chair plan normally answers. When you are designing, make one full-size test before committing show stock.
Start with strain, not optimism
For a simple bend, an outside-fiber strain estimate is:
where \(t\) is part thickness in the bending direction and \(R\) is the bend radius to the part’s neutral region. The estimate explains two workshop truths: doubling thickness roughly doubles strain, while doubling radius roughly halves it. It is not a species-specific pass/fail limit. Grain runout, defects, moisture, compression support, and process quality can dominate.
Use it comparatively. If a prototype at thickness \(t\) and radius \(R\) barely survives, a thicker final part on the same form is not “a little harder”; the strain rises in direct proportion. For lamination, each ply experiences its own much smaller \(t\), which is why thinner plies tolerate tighter curves.
Steam bending: success is decided before the box
The USDA Wood Handbook places stock selection, moisture, apparatus, the bending operation, and fixing the bend in one process 1. Use straight-grained, defect-free stock appropriate to the controlling plan. Ring-porous hardwoods such as oak, ash, and hickory are common chair choices; beech has a long bentwood history. Species name cannot rescue grain that runs out through the part.
Inspect four faces under raking light. Mark:
- end checks and drying splits;
- knots, bark inclusions, and abrupt grain deviation;
- the convex face, where tension failure would appear;
- the ends that must contact a compression strap’s stops.
Do not place a questionable area at the tightest radius. Better, reject the blank. The cost of a clean riven blank is smaller than the risk of handling a hot, breaking piece under load.
The compression strap
Wood usually tolerates more shortening on the inside of a bend than stretching on the outside. A steel strap on the convex face, captured by end stops, restrains lengthening and forces more deformation into compression. It must carry load end to end. A loose strap laid over the surface is only shiny decoration.
Fit the strap cold. Confirm both stops bear, handles clear the form and clamps, and the blank cannot slip lengthwise. If the plan does not call for a strap, do not add one casually: tooling and target dimensions may assume a different process.
Quick check
It only works if its end stops bear on the blank and carry load end to end.
Rehearse the transfer
Steam schedules are rules of thumb tied to species, thickness, initial condition, and apparatus—not universal guarantees. Use the current plan or tested technical source. More time is not automatically safer; overcooking can degrade a blank, and a cold core will not be fixed by frantic clamping.
Run the entire bend once with a cold blank:
- Open the box and name who controls the door, blank, strap, and form.
- Walk the clear route to the form.
- Seat the first end and engage the strap.
- Bend in one continuous, controlled motion.
- Apply clamps in the planned order.
- Confirm the part is against every critical station.
Put a clock where it can be read without stopping. Wear heat-resistant gloves and eye protection. Steam burns before it looks dramatic; keep faces and bare forearms away from the box opening. Never use a sealed pressure vessel as an improvised steambox.

The four requirements: hot enough throughout, transferred without delay, outside fibers supported when required, and held until the bend is fixed.
Stop gate: the form is anchored, clamps and cauls are open in sequence, the strap has been cold-fitted, the walking route is clear, and every participant can state the abort plan.
On the form
Watch the convex face as the bend starts. A lifted splinter, ticking sound, sudden soft hinge, or strap stop losing contact is an abort signal. Do not put your face over the part to inspect it. A failed blank stores energy.
Clamp the part into broad contact instead of crushing isolated points. Mark a centerline on blank and form so the bend cannot quietly shift sideways. Hold or transfer to a drying form for the schedule specified by the plan. Springback is measured only after a consistent conditioning period; comparing one piece warm from the form with another after a week teaches nothing.
Keep a bend log: blank ID, species, grain notes, initial condition, thickness, radius, steam time, transfer time, strap use, defects, days on form, and measured springback. After three bends, the log becomes more useful than another generic rule.
Bent lamination: calculate the stack
For a target finished thickness \(T\) and proposed ply thickness \(p\), estimate the count:
Then recalculate the real finished thickness from the plies you can reliably resaw, plane, and glue. A nominal count that requires one paper-thin cleanup ply is poor planning. Prototype the tightest radius dry. If the stack needs heroic clamp force without glue, use thinner plies or a larger radius.
Keep shop-sawn plies in cutting order and mark a triangle across their edges. This preserves visual grain flow and prevents flipping one ply during a hurried glue-up. Plane or sand glue faces consistently without making them polished and contaminated. Follow the adhesive maker’s surface preparation, spread rate, temperature, open time, pressure, and cure instructions. The USDA handbook explains that adhesive performance depends on both wood surface and bonding process 1.
Form logic
A male-only form plus clamps can work for gentle curves; a matched male/female form or well-designed cauls controls pressure more uniformly. Whatever the system, provide:
- a durable centerline and end registration;
- clamp access that does not force a last-minute sequence change;
- a release surface that the chosen adhesive will not bond to;
- enough stiffness that the form does not flatten under pressure; and
- witness marks showing whether the stack fully seated.
Dry-clamp the complete stack. Count clamps. Number them in tightening order if access is tight. Time the rehearsal and compare it with the adhesive’s working time at the actual shop temperature. If the rehearsal consumes most of that window, change the glue, team, or form—not your hopes.
Stop gate: all plies bend without cracking, the dry stack seats everywhere, squeeze-out can escape, clamp order fits the open time, and two witness marks prove the stack did not slide.
Quick check
n = ceiling(0.75 / 0.125) = 6. Then recompute real thickness from the plies you can reliably make.
Which failure says what?
- Tension splinter on a steam bend: grain runout, missing/ineffective compression support, excessive strain, or poor stock.
- Localized buckle on the inside: compression accumulated in one place; form support or bend rate was uneven.
- Springback larger than the prototype: condition, hold time, thickness, or form geometry changed.
- Open glue line in a lamination: inadequate pressure, poor fit, starved/contaminated surface, late clamping, or wrong adhesive process.
- Whole laminated curve slowly opens: investigate adhesive creep, environment, and design load rather than adding finish.
- Stack shifts sideways: center registration and balanced clamp application were inadequate.
The Democratic chair gives the course its live steam-bending exam: Buchanan’s series includes crest bending, and the companion class identifies shaping, bending, and drying as one session 2. The Butterfly homage provides the lamination exam. Treat each as a controlled process with a notebook, not a dramatic trick performed once.
Quick check
Rehearse the dry clamp-up and compare it with the glue’s open time at shop temperature.
Lesson complete
Nice work.
Sources for this lesson
- 1Forest Products Laboratory. Wood Handbook: Wood as an Engineering Material. Revised 2021 ed. U.S. Department of Agriculture, Forest Service. 2021. verifiedOfficial engineering reference; chapters 4, 10, 13, 16, and 19 cover moisture, adhesives, drying, finishing, and plasticizing/bending. Cited at: chapter 19; chapter 10.
- 2Curtis Buchanan, Elia Bizzarri. Democratic Chair Series with Curtis Buchanan. Hand Tool Woodworking. verifiedSeven recorded classes with episode-by-episode scope plus materials and minimalist-tool guidance. Cited at: episode 2.
Further reading
- Video series: How to make a democratic side chair. Curtis Buchanan Chairmaker. verifiedMaker's official index to the 20-part free build series and current plan options.
- Jennie Alexander. Make a Chair from a Tree: Third Edition. Lost Art Press. 2021. verifiedPublisher contents and excerpts for post-and-rung construction, moisture management, bending, assembly, and hickory-bark seating.