Surface Prep: Planing, Scraping, Sanding
A finish magnifies whatever is under it. Smooth with a sharp plane where you can, scrape the tearout, and sand through the grits without skipping - then check with raking light before the first coat.
- 4 min
- 5 steps
- 3 questions
- Lesson 42 of 160
In this lesson
- Planing
- Scraping
- Sanding
- Inspect before finishing
- What to take from this
Picking up where you left off.
Planing
The best surface for most finishes comes straight off a sharp, finely set smoothing plane. The blade severs the fibers cleanly, leaving a surface that’s flat, crisp, and clear, without the fine scratches and packed dust of sanding. Pre-industrial furniture was finished from the plane and scraper, and its subtle tool marks are part of its look 1.

For a finish-ready planed surface:
- Hone the smoother just before final passes.
- Set it for the finest shaving that cuts full width.
- Set the cap iron close and the mouth tight.
- Plane with the grain, overlapping passes.
- Ease arrises (sharp edges) with a block plane or a few strokes of fine sandpaper.
Quick check
Pre-industrial furniture was planed and scraped, leaving subtle tool marks that catch light.
Scraping
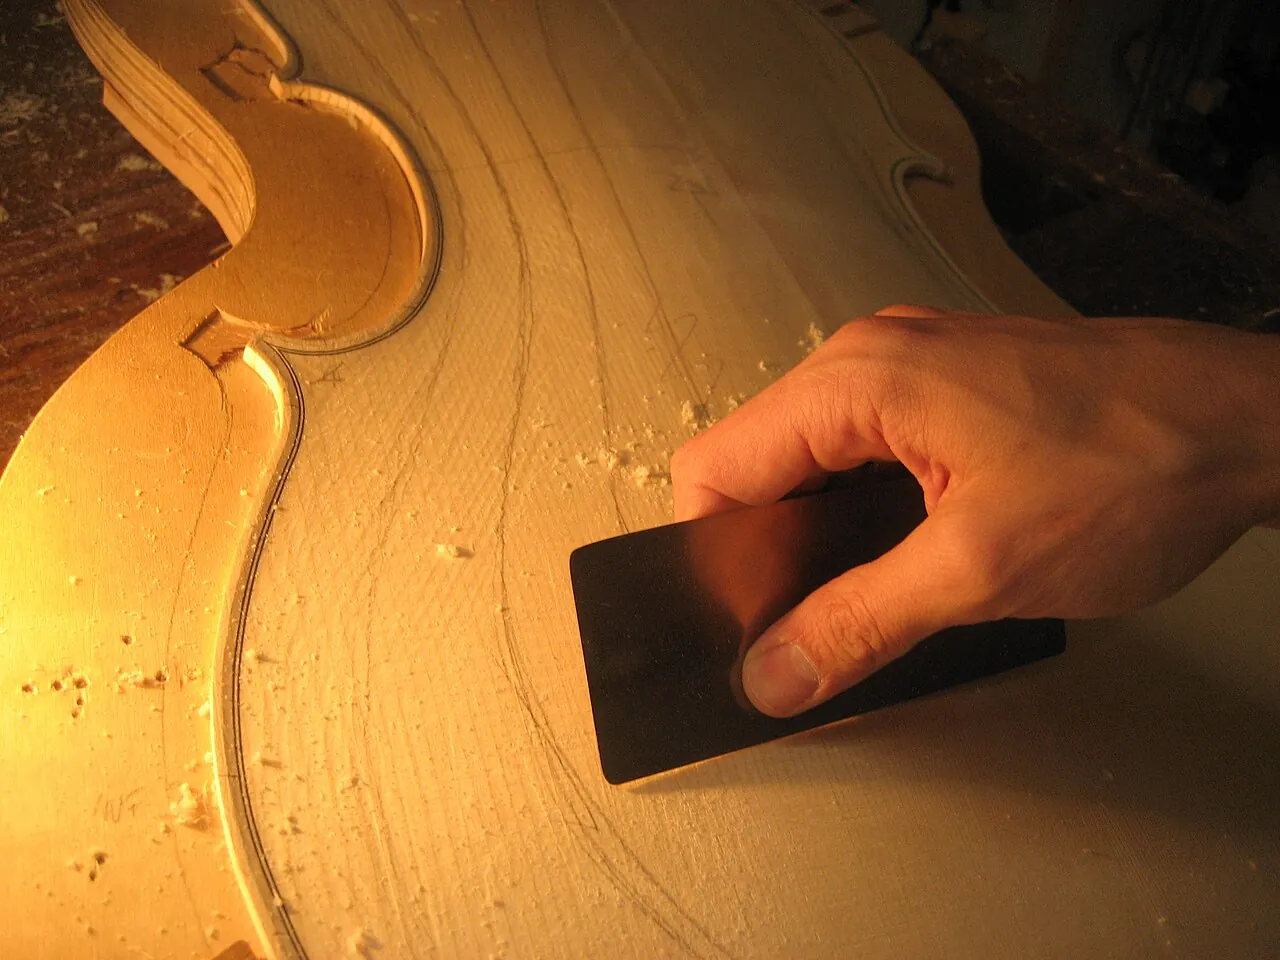
A card scraper - a thin rectangle of steel - takes gossamer shavings with a tiny hook turned on its edge. It’s the cure for tearout in figured or reversing grain, where every plane direction tears, and for leveling small areas.
Sharpening (see the video):
- Joint the edge square with a mill file.
- Hone the edge and faces on a stone to remove file marks.
- Burnish: draw a hardened burnisher along each face, then along the edge at a slight angle, to turn a small hook.
To use it, hold it with both hands, flex it slightly with your thumbs, tilt it forward, and push (or pull). A sharp scraper makes shavings, not dust. Cabinet scrapers hold the blade in a frame for larger surfaces.
Playback is optional. If the player is unavailable, open the video at its source.
Quick check
File and hone the edge square, then draw a burnisher along it to raise a fine hook that takes thin shavings, even in reversing grain.
Sanding
Sanding is the most common prep and the least pleasant. Rules:
- Start with the coarsest grit needed to remove defects and machine marks - often 120 on planed wood, 80 or 100 on rough or machine-planed boards.
- Don’t skip grits: each one should just remove the scratches of the last. Skipping leaves deeper scratches that the finer grit can’t reach and that show under finish 2.
- Stop at the right grit for the finish: typically 150 to 180 under a film finish or paint, and 180 to 220 under oil; very fine sanding can keep stain from penetrating evenly 2.
- Sand with the grain for the final grit; cross-grain scratches stand out.
- Use a block on flat surfaces; fingers sand hollows.
- Clean between grits (vacuum or a brush) so loose coarse grit doesn’t scratch at the next stage.
- Wear a respirator: sanding makes the most hazardous fine dust in the shop (see Dust Collection).
Raise the grain before a water-based finish or dye: wipe with a damp cloth, let dry, and lightly sand off the raised fibers with the final grit.
Quick check
Each grit should just remove the scratches of the one before; skipping leaves ghost scratches and takes longer.
Inspect before finishing
Turn off overhead lights and shine a light low across the surface (raking light). Look for:
- Plane tracks and ridges.
- Tearout and fuzzy grain.
- Sanding swirls and cross-grain scratches.
- Dried glue, which repels stain and finish (a wipe with mineral spirits makes it show).
- Dents (steam them out with a damp cloth and a hot iron).
Fix them now; finish will only magnify them.
What to take from this
Smooth with a sharp, finely set plane where you can, and scrape tearout with a burnished card scraper. When sanding, start only as coarse as needed, step through every grit, finish with the grain, and stop around 150-180 for film finishes or 180-220 for oil. Raise the grain before water-based finishes, and inspect in raking light for glue, swirls, and tearout before the first coat.
Lesson complete
Nice work.
Sources for this lesson
- 1Joshua A. Klein. The Foundations Course (Apprenticeship Series). Mortise & Tenon Magazine. verifiedHand-tool furniture making from pre-industrial originals - tool selection, sharpening, lumber processing, mortise and tenon, through and half-blind dovetails, nailed rabbets, dados, and shellac and milk paint finishes.
- 2What Grit Should I Use for Prep Sanding Raw Wood?. General Finishes. verifiedWork up through grits without skipping; 120-150 for paint, up to 180 for open-grain wood under water-based stain, 150-220 for closed-grain woods.