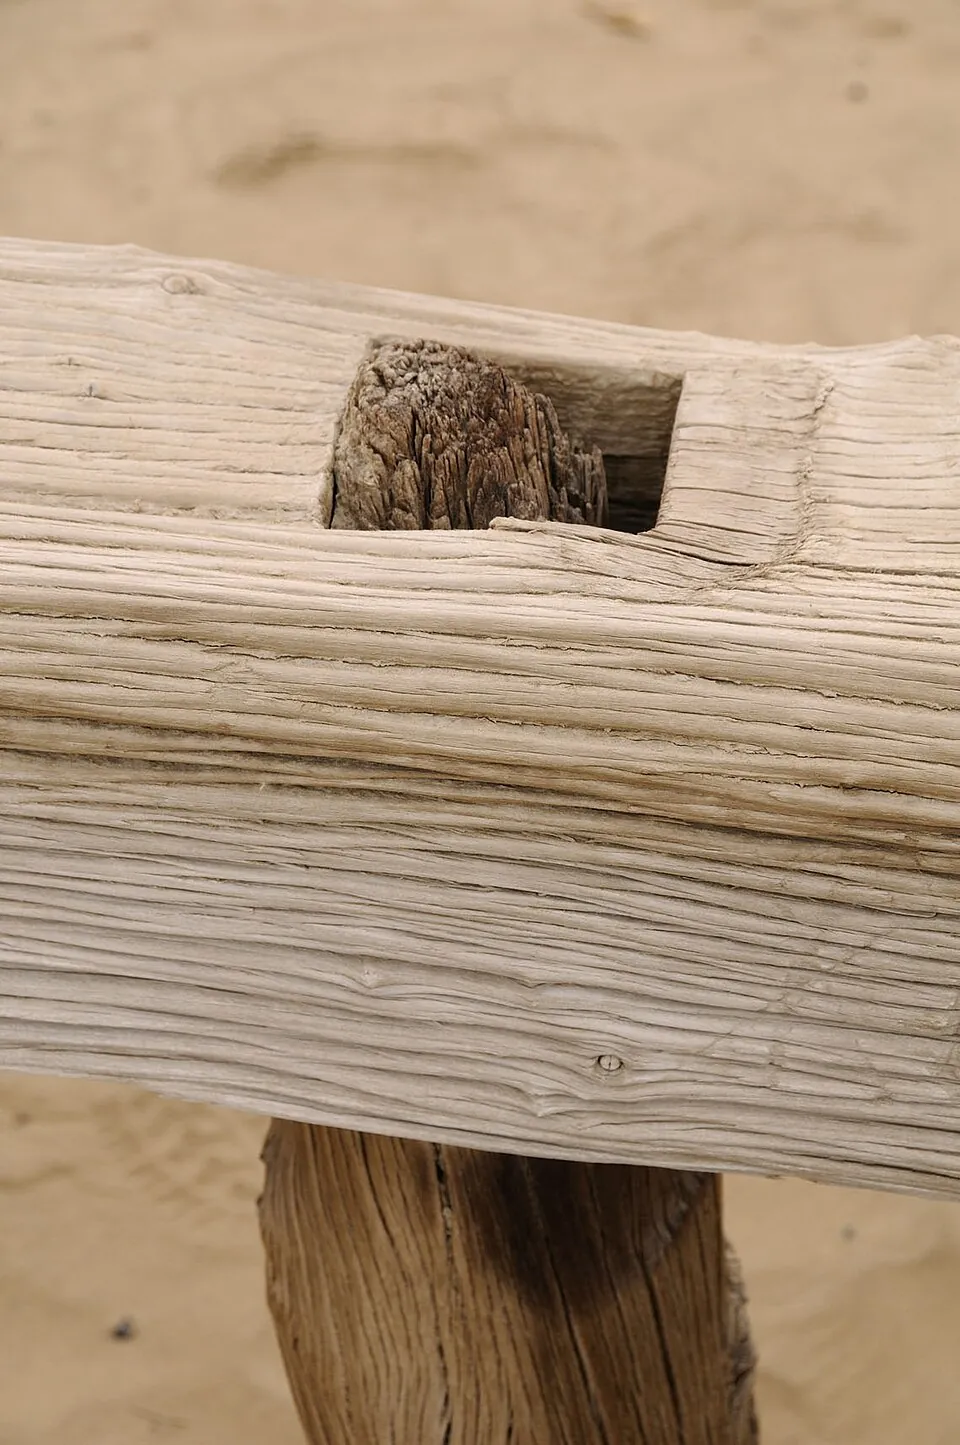
Mortise and Tenon
The frame joint of furniture: proportions, laying out from reference faces with a mortise gauge, chopping the mortise, sawing and paring the tenon, and drawboring - all by hand.
- 5 min
- 7 steps
- 3 questions
- Lesson 38 of 160
In this lesson
- The joint
- Proportions
- Lay it out
- Chop the mortise
- Saw the tenon
- Fit and assemble
- What to take from this
Picking up where you left off.
The joint
A mortise and tenon joins two parts at an angle, usually a right angle: a rail to a leg, a stretcher to a post, a door rail to a stile. The tenon is a tongue on the end of one part; the mortise is a matching slot in the other. The tenon’s broad cheeks give long-grain glue surfaces, and its shoulders register the parts and resist racking.

It’s the oldest and most versatile furniture joint, and the core joint of pre-industrial furniture 1.
Proportions
Good starting rules:
- Tenon thickness: about one-third of the rail thickness (a 3/4-inch rail gets a 1/4-inch tenon). Size it to the nearest chisel.
- Mortise position: often centered, or offset so the rail sits back from the leg face for a small reveal.
- Tenon length: as long as the leg allows, commonly 1 to 1¼ inches in a 1¾-inch leg, leaving wood at the bottom.
- Mortise end distance: keep the mortise at least 1/2 inch from the end of a leg so the short grain doesn’t break out; leave a haunch if the rail is flush with the top.
- Wide rails: split a tenon wider than about 4 inches into two, or the cheeks will fight wood movement across the rail.
Lay it out
Everything comes from the reference faces (see Marking, Measuring, and Layout):
- Set the mortise gauge to the chisel width, and set its fence for the offset 2.
- Scribe the mortise on the leg from its reference face, between knifed end lines.
- Scribe the tenon on the rail ends with the same setting from the rail’s reference face, around both edges and the end.
- Knife the shoulders all the way around the rail with a square, and deepen them into a knife wall.
Quick check
Set the gauge pins to the chisel, scribe the mortise, and scribe the tenon from the same reference face with the same setting.
Chop the mortise
Hand-chopped mortises are faster than they look:
- Clamp the leg over a solid part of the bench.
- Start a little in from one end with the chisel bevel facing the middle, and chop straight down with a mallet, about 1/8 inch deep.
- Step back 1/8 inch and chop again, levering waste toward the middle. Work toward the other end, then back, going deeper each pass.
- Keep the chisel plumb: sight from the side and the end.
- Leave the end walls until last, then chop to the knife lines with the bevel facing in.
- Check depth with a stick or the chisel against a mark.
A boring-and-paring method (drill out most of the waste, then pare the walls) works too, especially in hard woods.
Quick check
Chop in steps, lever out waste, and pare the end walls to the lines last.
Saw the tenon
- Saw the cheeks on the waste side of the gauge lines with a tenon saw: tilt the rail in the vise, saw diagonally to the shoulder line on one edge, flip, saw the other diagonal, then saw square to finish.
- Saw the shoulders against the knife wall with a backsaw.
- Saw the tenon to width and cut the haunch if any.
Playback is optional. If the player is unavailable, open the video at its source.
Fit and assemble
- Pare cheeks with a chisel or a router plane (which takes exact, parallel cuts) until the tenon enters with firm hand pressure.
- Chamfer the tenon end slightly so it starts easily.
- Check that shoulders close tight on both sides.
- A good fit is snug, seats fully, and comes apart without damage. A tenon that wobbles needs shavings glued to its cheeks, or remaking - glue won’t fill it.
Drawboring locks the joint without clamps: bore a peg hole through the mortise walls, insert the tenon and mark the hole’s center on it, then bore the tenon hole about 1/16 to 1/8 inch closer to the shoulder. A tapered peg driven through bends to pull the shoulder tight. It’s how much pre-industrial furniture was assembled, often without glue.
Quick check
PVA isn’t a gap filler. A good fit is snug by hand, seated, and removable without damage.
What to take from this
Size the tenon to about a third of the rail thickness and the nearest chisel, keep mortises back from leg ends, and split wide tenons. Set the mortise gauge to the chisel and mark both parts from reference faces with one setting. Chop from the middle out, keeping the chisel plumb and paring end walls last; saw cheeks on the waste side and shoulders against a knife wall; pare to a snug fit; and drawbore to pull the joint tight.
Lesson complete
Nice work.
Sources for this lesson
- 1Joshua A. Klein. The Foundations Course (Apprenticeship Series). Mortise & Tenon Magazine. verifiedHand-tool furniture making from pre-industrial originals - tool selection, sharpening, lumber processing, mortise and tenon, through and half-blind dovetails, nailed rabbets, dados, and shellac and milk paint finishes.
- 2Christopher Schwarz. The Anarchist's Tool Chest. Lost Art Press. 2011. verifiedArgues a kit of fewer than 50 good hand tools can build almost anything; explains how to choose each tool, new or antique, and how to build a chest to hold them. Free PDF from the publisher.