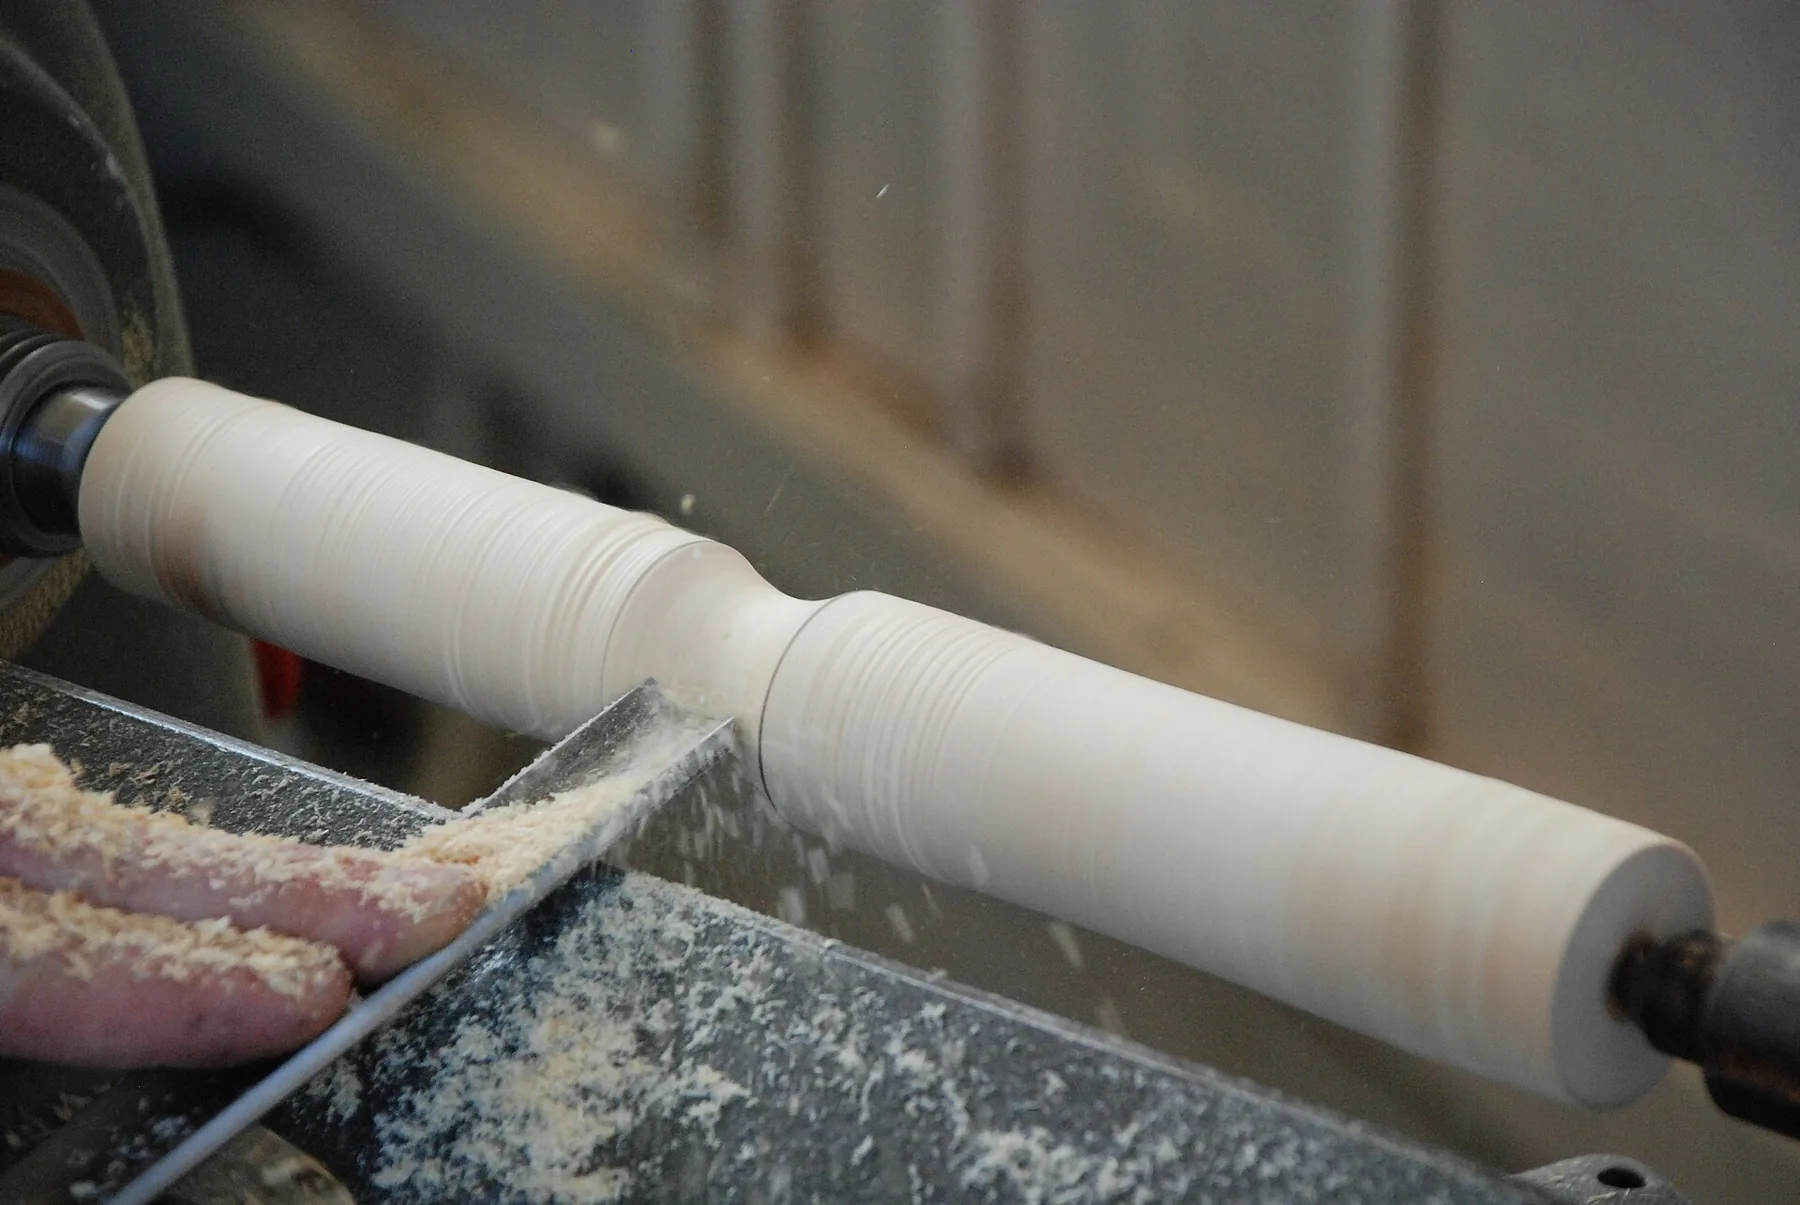
Turning for Chairs
Turning chair parts: safety checks before power, a story stick so every leg matches, turning sequence to avoid whip and chatter, why green spindles dry oval, tenons as inspection points, plain, bamboo, and vase-and-ring styles, and when shaving beats turning.
- 7 min
- 8 steps
- 3 questions
- Lesson 131 of 160
In this lesson
- Before the switch
- Make a production story, not four improvisations
- Sequence for stiffness
- Green, dry, and deliberately oval
- Tenons are inspection stations
- Three useful chair dialects
- When shaving is the better tool
Picking up where you left off.
A lathe in a chair shop has two jobs. It can produce repeated structural parts quickly, and it can give those parts a visual dialect—plain tapers, bamboo nodes, beads, coves, or baluster profiles. The order matters: joint first, silhouette second, ornament last. A leg with beautiful beads and an undersized tenon is firewood with decoration.
Richard Raffan’s turning text is the general foundation for sharpening, tool control, and safe spindle work 1. This lesson adds the chairmaker’s production logic: story sticks, station diameters, gauge blocks, matching sets, moisture condition, and deliberately slender parts.

Before the switch
Inspect the blank and lathe before power:
- Grain should run continuously through a rung, stretcher, or slender leg. Reject cracks, loose knots, severe runout, and questionable glue joints.
- Mark centers on both ends. For a bent or tapered part, determine whether geometric center or a plan-defined offset is intended.
- Reduce a square blank toward an octagon when practical. Removing dead corners lowers shock at the first cut.
- Seat drive and live centers firmly in sound end grain.
- Rotate the blank by hand through a full turn. It must clear the tool rest and bed.
- Set the rest close and just below or near the cutting height required by the tool and operation; lock both base and rest.
- Remove the chuck key and loose layout tools from the lathe area.
Use a face shield, keep sleeves and hair secured, and do not wear gloves around rotating work. Start at a conservative speed appropriate to diameter, balance, and lathe limits. A long chair blank that is slightly bowed can become violently unbalanced. Speed is earned after the blank runs true.
Stop gate: the blank is sound and centered, the rest clears by hand, both locks hold, the appropriate speed is selected, and the operator can stand out of the line of fire at startup.
Quick check
A beautifully beaded leg with an undersized tenon is useless.
Make a production story, not four improvisations
A chair wants matching parts. Matching comes from an external record:
- Make a story stick that records every shoulder, bead, cove, maximum diameter, and transition station from one end reference.
- Prepare a diameter schedule. Label only critical stations: tenons, bearing surfaces, maximum beads, narrow necks, and plan-controlled points.
- Set calipers for those critical diameters and arrange them in story-stick order. Never lay a closed caliper over moving work in a way that can catch; use the turning practice appropriate to the tool and stop the lathe whenever uncertain.
- Make a gauge block with sockets bored by the actual chairmaking bits. Use it for straight tenons; use a matching test socket or plan-defined method for tapered ones.
- Turn one approved master, compare it with the drawing, then leave it visible while making the set.
Do not use the first leg itself as the only template. Copying part two from part one, then part three from part two lets error drift through the set. Every part returns to the same story stick and gauges.
Mark stations while the cylinder is still stiff. Use a parting tool or other controlled cut to approach critical diameters, leaving a small cleanup allowance where the process calls for it. Connect the stations with tapers and curves only after the structural landmarks are established.
Quick check
One external record keeps every part matched to the drawing.
Sequence for stiffness
Long rungs and slender spindles can whip as their diameter falls. The cutting force then bends the part away from the tool, producing chatter and a washboard surface. Fight the cause, not just the marks:
- keep tools sharp and cuts light;
- work near the tailstock first when that suits tool direction and support;
- leave adjacent sections thick while finishing a slender station;
- shorten the unsupported cutting zone with a steady rest when appropriate;
- support only with a trained, protected hand technique described by a reliable turning source—never improvise behind spinning stock; and
- reduce speed if vibration grows.
Sandpaper does not cure a vibrating geometry. It can round critical tenons and create heat while leaving low chatter troughs. Stop, restore support, and take a clean shear cut when safe.
Rule of thumb: thin late. Complete layout and as much neighboring work as possible while the blank still has stiffness.
Green, dry, and deliberately oval
Green wood turns easily but changes shape as it dries. Because tangential and radial shrinkage differ, a round green spindle generally becomes oval. That can be acceptable on a decorative region or disastrous on a tenon.
Choose the moisture strategy by function:
- Rough green, dry, re-turn: useful when final roundness and stable dimensions matter.
- Turn green and accept movement: appropriate only where the changed section will not register in a joint or offend the design.
- Turn a tenon super-dry for a shrink joint: the controlling post-and-rung method defines the rung condition, dimensions, and ring orientation. Follow Alexander’s current process rather than treating “dry” as a guess 2.
Record a blank’s condition and date. If four legs were turned in different moisture states, their agreement at the lathe is temporary. Store completed slender parts supported and labeled so they do not become a puzzle later.
Quick check
That’s fine on decorative sections but a problem on tenons, so rough green, dry, and re-turn critical parts.
Tenons are inspection stations
Make the tenon early enough that a failed fit does not waste an ornate part, but preserve enough neighboring material to support safe turning. Approach final diameter in small cuts. Test a straight tenon in the gauge block with the lathe stopped.
A useful gauge fit is consistent around the circumference and reaches the reference without crushing. Rotate the tenon in the gauge. If it fits in one orientation but not another, it is oval or ridged. If only the burnished high rings contact, improve the surface rather than reducing the whole tenon blindly.
For a tapered chair leg, do not turn by visual slope alone. Match the cutter/reamer system or the controlling plan’s taper gauge. A caliper at one diameter cannot prove two cones match.
Stop gate: each tenon fits its assigned gauge, shoulders or depth marks agree with the plan, and all part IDs remain readable.
Three useful chair dialects
- A plain taper emphasizes stance and handwork. Small differences disappear in the assembled chair, but joint diameters and foot locations must agree.
- A bamboo turning uses nodes and gentle tapers. Keep nodes from creating abrupt weak necks near loaded joints.
- A baluster turning uses beads, coves, vases, and fillets. Establish crisp fillets first; soften only after the set matches.
Compare silhouettes from several feet away. Calipers can make stations identical while the connecting curves look unrelated. Turn off the lathe, place finished parts together in chair orientation, and check rhythm as a group.
When shaving is the better tool
The Democratic chair and Jennie chair derive much of their character from riven, shaved parts. Shaving follows continuous fibers and requires a smaller machine footprint. Turning is fast for duplicates and supports crisp rotational detail. Neither is morally superior.
Ask three questions:
- Does the controlling plan specify a process because moisture, grain, or geometry depends on it?
- Is perfect rotational symmetry part of the visual language?
- Which process keeps the strongest continuous grain in this slender part?
Use the lathe on later variations, replacement rungs, and designs that actually benefit from it. Use the shavehorse when the riven fiber path is the point. Chairmaking becomes fluent when both processes are available and neither is automatic.
At the end, label every part, copy final station diameters into the chair log, and make one note about tool, speed, wood condition, and any chatter. That record turns a matching set from luck into a reproducible shop method.
Lesson complete
Nice work.
Sources for this lesson
- 1Richard Raffan. Turning Wood with Richard Raffan. 3rd ed. The Taunton Press. verifiedAuthor's official bibliography and description of the book's turning, sharpening, tool-control, and safety coverage. Cited at: book description.
- 2Jennie Alexander. Make a Chair from a Tree: Third Edition. Lost Art Press. 2021. verifiedPublisher contents and excerpts for post-and-rung construction, moisture management, bending, assembly, and hickory-bark seating. Cited at: chapters 2, 8, and 9.
Further reading
- Peter Galbert. Chairmaker's Notebook. Lost Art Press. 2015. verifiedDetailed chairmaking reference for drilling, reaming, sightlines, and compound geometry.