The Chairmaker's Joint
Round joints for plank and post-and-rung chairs: tapered tenons in reamed mortises, reading contact rings, steering the reamer by sightline, cylindrical rungs fitted to the actual bit, the dry-tenon shrink joint and hot-box safety, and wedges through the seat.
- 7 min
- 6 steps
- 3 questions
- Lesson 126 of 160
In this lesson
- The tapered tenon and reamed mortise
- Cylindrical rungs: fit to the actual bit
- Water as a clamp: the shrink joint
- Wedges through plank seats
- Diagnose the mechanism, not the symptom
Picking up where you left off.
Plank chairs and post-and-rung chairs run on round joints. Their reliability comes less from roundness than from three deliberate strategies: a matched taper, a moisture differential, or a mechanical lock such as a wedge. Know which strategy the plan uses. Mixing half of one system with half of another can produce a joint that looks traditional but has no dependable tightening mechanism.

The tapered tenon and reamed mortise
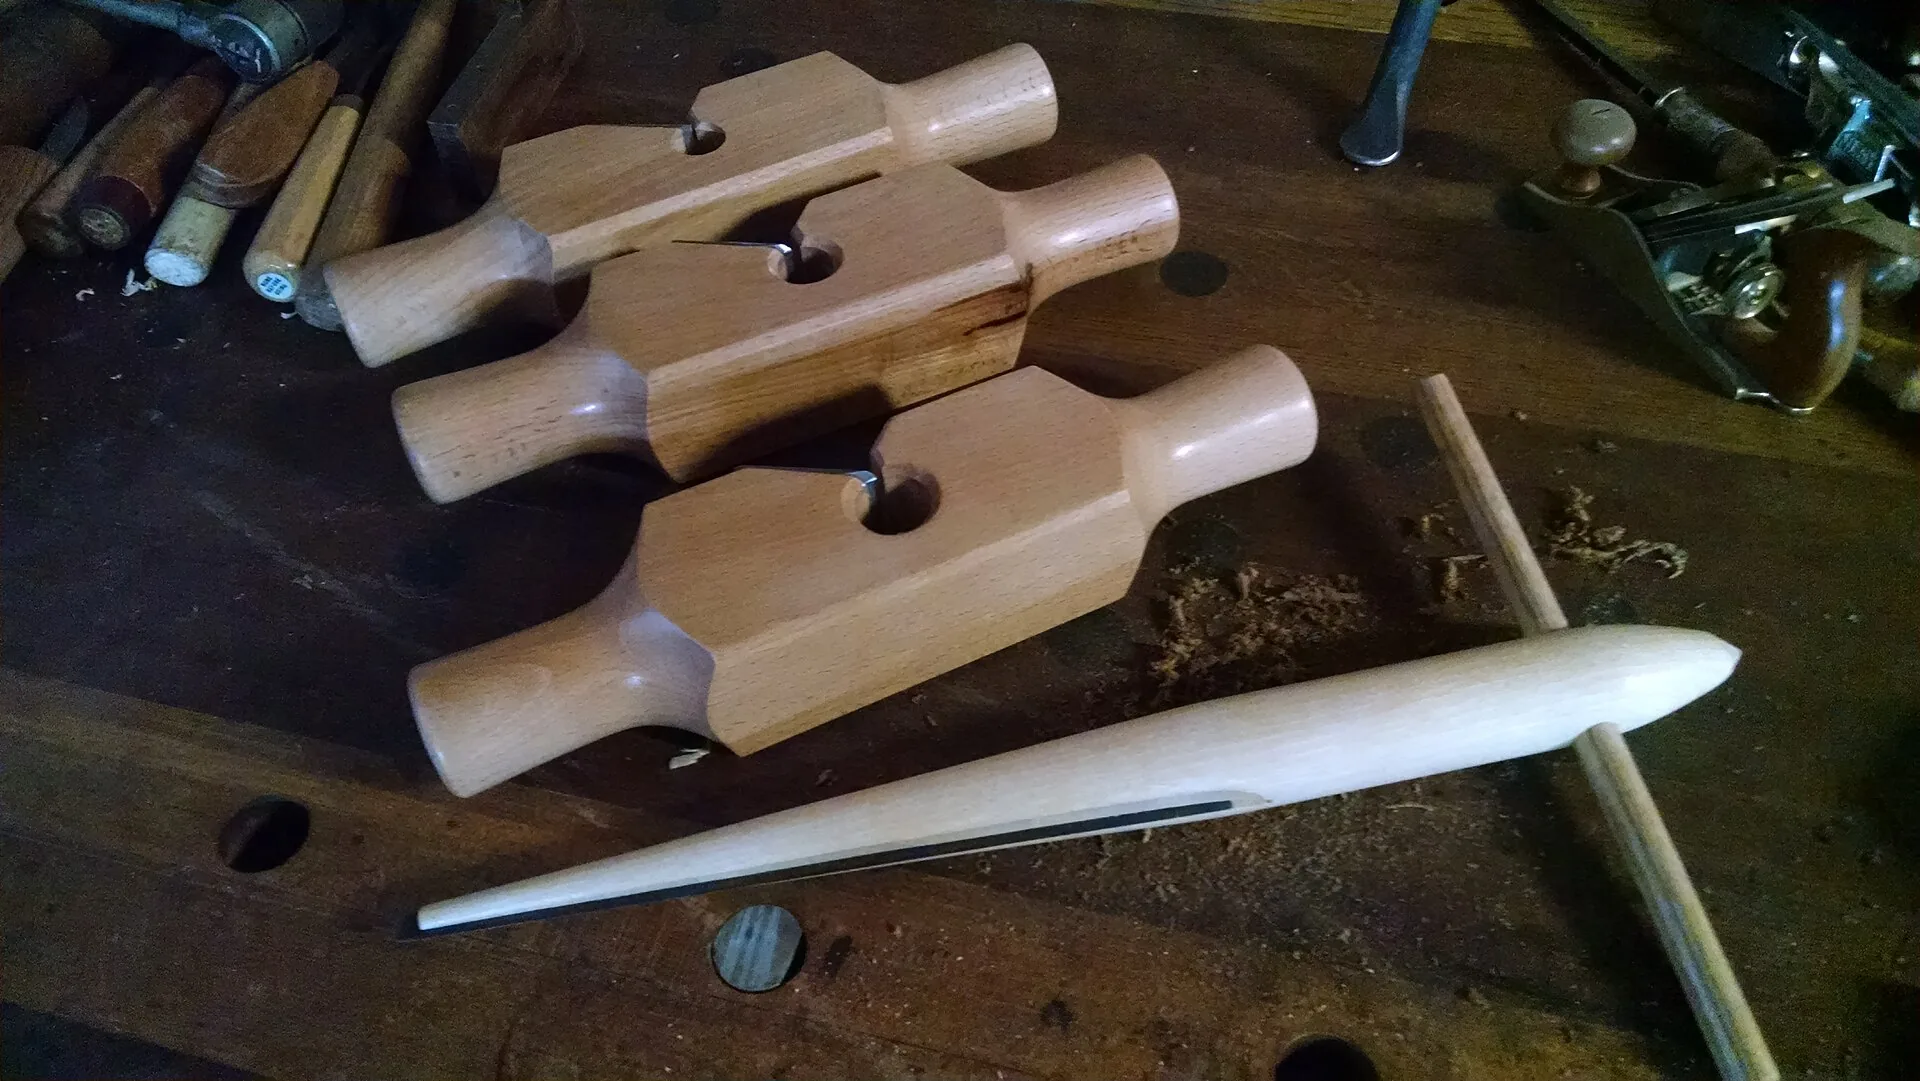
A chair reamer opens a bored cylindrical mortise into a cone. A matching tenon cutter, tapered plane, or careful hand fitting puts the corresponding cone on the leg. The precise taper varies by tool family, so never assume that two tools advertised with similar names match. Peter Galbert treats reamer, cutter, sightline, and fitting as one chairmaking system 1.
Make a gauge block before the chair:
- Bore straight through a sound block the same thickness range as the seat.
- Ream to a clearly marked reference depth.
- Cut a sample tenon with the matching tool.
- Insert, rotate gently, and inspect the contact pattern.
- Record how far the sample enters before it binds.
Chalk, soft pencil, or dry transfer pigment can reveal contact. A healthy fit shows broad, continuous contact around the taper, not one shiny ring at the mouth. If the tenon contacts only at the large end, it can feel tight while the joint below is unsupported. If it bottoms at the small end, the shoulder or intended seating depth may never arrive.
The useful mnemonic is Bore → Ream → Read → Repeat. Bore establishes location and much of the direction. Ream removes small amounts while steering toward the target. Read the leg’s direction and contact after each short pass. Repeat only while a known correction remains. A reamer is a controlled correction tool, not an undo button: every turn enlarges the mouth and moves the seating depth.
Steering without wandering
Draw the sightline beyond the mortise so it remains visible beneath the drill and reamer. Set the bevel from the same baseline specified by the controlling plan—off the seat surface and off vertical are complementary angles, not interchangeable labels. During reaming, put pressure on the side that changes the leg in the intended direction, take a small number of turns, clear chips, and test the actual leg.
Check the leg in two views:
- Along the sightline, compare its lean with the bevel or plan.
- Perpendicular to the sightline, confirm it has not drifted sideways.
Then compare the projected foot location with the full-size floor or elevation drawing. Judging only the leg angle can hide a mortise whose mouth has shifted. Curtis Buchanan’s Democratic chair series demonstrates boring, reaming, and assembly as connected operations; the written plan remains the controlling geometry 2.
Stop gate: the tenon has broad contact, reaches the plan’s seating reference without bottoming, and places the foot where the full-size drawing predicts.
Quick check
A good tapered fit shows broad, continuous contact. Ring contact at the large end means a mismatched cone.
Cylindrical rungs: fit to the actual bit
Rungs and stretchers usually use straight cylindrical tenons. A nominal bit size is only a label; sharpening, manufacturing tolerance, runout, and species springback can make the real hole differ from the real cutter. Bore the gauge block with the exact bit and brace or drill you will use, then fit super-dry test tenons to it.
A chair rung should not be sized by caliper alone. Calipers report diameter, but the gauge block reports the actual interaction of tool, grain, and hole. Test at several grain orientations. A tenon with torn fibers can measure large while offering weak, intermittent contact.
For repeated work, keep a dated gauge block with holes labeled by bit, cutter setting, wood species, and moisture condition. When the setup changes, make a new record rather than quietly changing the old standard.
Water as a clamp: the shrink joint
The post-and-rung chair uses moisture movement intentionally. Rung tenons are dried below the moisture condition they are likely to experience in service, while the mortised posts remain wetter. After assembly, the post loses moisture and shrinks around the tenon; the very dry tenon gains moisture and swells. Jennie Alexander’s third edition treats wood, moisture, bending, rung tenons, post mortising, and assembly as a single sequence 3.
This is not permission to improvise a moisture number. Species, local climate, part dimensions, kiln temperature, and the book’s ring-orientation method matter. Use Alexander’s current diagrams and targets directly. The USDA Wood Handbook explains why: wood moves differently tangentially and radially, while longitudinal movement is comparatively small 4. A circular-looking post and rung therefore do not shrink as mathematically perfect circles.
Build a moisture log with four columns: part, date, reading/condition, location. Read multiple rungs, not one convenient sample. Keep post and rung batches labeled. The mnemonic dry the pin, keep life in the post captures the direction, but the controlling source supplies the actual process.
Hot-box safety
A heated drying box places a heat source around dry wood and dust. Follow the published chairmaking design, use temperature control and a thermometer, protect the heat source from contact, provide intended airflow, and place the box on a noncombustible, stable surface. Never leave an improvised or shop-built hot box running unattended or while you sleep. Keep combustible storage clear, unplug it before opening or servicing it, and let the heat source cool before handling. Do not substitute an oversized lamp or heater to hurry the schedule. Drying too hot or too fast can start a fire or check the very tenons the process is meant to strengthen.
Stop gate: rung tenons have reached the book’s specified condition consistently, posts remain in the intended condition, all parts are labeled, and assembly can occur before the moisture relationship is lost.
Quick check
Moisture movement becomes the clamp - follow Alexander’s specific moisture process rather than guessing numbers.
Quick check
Heat plus dry wood and dust is a fire risk, and drying too hot can also check the tenons.
Wedges through plank seats
Where a leg tenon passes through a plank seat, a kerf and wedge can spread its upper end. On a tapered joint, the cone supplies broad seating and the wedge prevents withdrawal. Wedge orientation must respect the seat grain: expansion should not pry apart the narrow bridge of wood that contains the mortise. Saw the kerf to the plan’s depth, stop its end cleanly, and rehearse wedge direction before glue is applied.
Do not overdrive. The goal is a seated wedge and expanded tenon, not maximum mallet noise. Mark the intended seating depth on the wedge. When that mark approaches the joint, switch from force to inspection.
Diagnose the mechanism, not the symptom
- Leg tight at the mouth but loose below: taper mismatch or shallow contact.
- Leg direction changes with every test: the mortise is still being reamed or the tenon is not repeatably seated.
- Rung fits in one gauge orientation only: ovality, torn grain, or moisture variation needs correction.
- Post begins to split during dry assembly: stop; fit, grain orientation, mortise wall, or moisture condition is wrong.
- Joint loosens after a season: record moisture, inspect contact and damage, and repair the actual system. Adding irreversible adhesive to an unidentified failure hides evidence.
The chairmaker’s advantage is not a magic joint. It is that taper, grain, moisture, and load are all made to point toward tighter service rather than gradual escape.
Lesson complete
Nice work.
Sources for this lesson
- 1Peter Galbert. Chairmaker's Notebook. Lost Art Press. 2015. verifiedDetailed chairmaking reference for drilling, reaming, sightlines, and compound geometry. Cited at: reaming and tapered-tenon chapters.
- 2Video series: How to make a democratic side chair. Curtis Buchanan Chairmaker. verifiedMaker's official index to the 20-part free build series and current plan options. Cited at: 20-part series scope.
- 3Jennie Alexander. Make a Chair from a Tree: Third Edition. Lost Art Press. 2021. verifiedPublisher contents and excerpts for post-and-rung construction, moisture management, bending, assembly, and hickory-bark seating. Cited at: chapters 2 and 7–11.
- 4Forest Products Laboratory. Wood Handbook: Wood as an Engineering Material. Revised 2021 ed. U.S. Department of Agriculture, Forest Service. 2021. verifiedOfficial engineering reference; chapters 4, 10, 13, 16, and 19 cover moisture, adhesives, drying, finishing, and plasticizing/bending. Cited at: chapters 4 and 13.