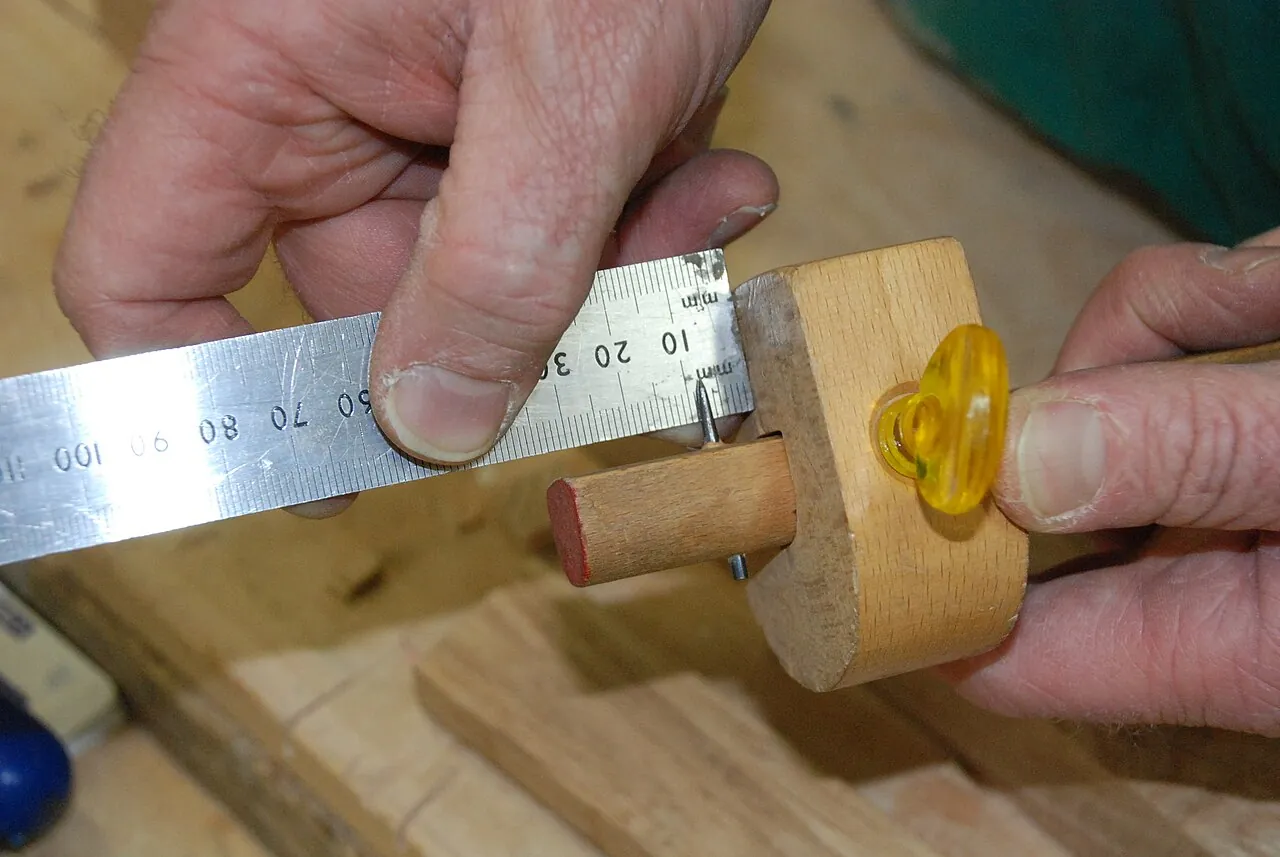
Marking, Measuring, and Layout
Accuracy in hand work comes from layout: reference faces, marking knives and gauges instead of pencils and rulers, transferring dimensions directly, and the knife wall that guides saw and chisel.
- 4 min
- 7 steps
- 3 questions
- Lesson 32 of 160
In this lesson
- References first
- Knife and gauge
- Transfer, don’t measure
- The knife wall
- Layout conventions
- At the bench
- What to take from this
Picking up where you left off.
References first
Every accurate piece starts with reference surfaces: one face trued flat and one edge trued straight and square to it. Mark them with face and edge marks (traditionally a loop on the face and a V on the edge pointing to it) 1. From then on:

- Run every square and gauge against the face or edge marks.
- Lay out joints from the references, not from the other (unreliable) surfaces.
Pre-industrial furniture often has true, smooth show surfaces and rough, gauged-to-thickness hidden surfaces, because only the references and visible faces had to be perfect 1.
Knife and gauge
The core layout tools 2:
- Marking knife: a single-bevel knife whose flat side rides against a square or straightedge. It severs fibers in an exact line.
- Try square and combination square: for lines square to the reference face and edge. Check it: draw a line, flip the square, and draw again; the lines should coincide.
- Sliding bevel: for angles, such as dovetails.
- Marking gauge: a fence and a pin or cutter that scribes a line parallel to an edge, for thicknesses and tenon shoulders.
- Mortise gauge: two pins, set to the width of a chisel, for mortises and tenons.
- Panel gauge: a long-fence gauge for marking width on wide boards.
- Dividers: for stepping off equal spaces (dovetail layout, shelf spacing) without arithmetic.
- Rule and tape: for overall sizes, used sparingly.
- Pencil: for rough marks, cut lists, and labeling, not joint lines.
Quick check
A pencil line has width and sits on the surface. A knife line is exact and creates a wall: the chisel drops into it, and the saw can be started against it.
Transfer, don’t measure
Each reading of a ruler is a chance for error. Hand-tool workers transfer dimensions directly:
- Set the mortise gauge to the chisel, then cut the tenon to the same gauge setting.
- Mark a shoulder by holding the mating part in place and knifing along it.
- Set a story stick with every important length marked, and transfer from it to all parts.
- Use dividers to space dovetails or step off equal parts.
Joints made this way fit even if the “measurement” is not a round number.
Quick check
Transferring directly from the tool or mating part avoids reading and rounding errors. Pre-industrial workers often used no ruler at all for joinery.
The knife wall
A knife line becomes a guide when you give it a wall:
- Knife the line with the flat of the knife against the square, on the side of the line you’ll keep.
- With a chisel, pare a shallow V-groove on the waste side up to the line, leaving a vertical wall.
- Set the saw or the chisel into the groove against the wall and cut.
The saw starts exactly on the line without skating, and a chisel registers its edge in the knife cut. This is how shoulders, housings, and dovetail baselines are cut crisply.
Playback is optional. If the player is unavailable, open the video at its source.
Layout conventions
- Mark waste with an X or hatching, so you saw on the right side of the line.
- Number joints (1-1, 2-2) and parts so they go back together the same way.
- Lay out mirror-image parts (left and right legs) together in a bundle to avoid making two lefts.
- Mark on the face that will show the line after cutting, typically the reference face.
At the bench
True one face and edge on a pine board and mark them. Using only a knife, square, and gauge (no ruler), lay out a tenon on one end at a third of the thickness, set from a chisel, and knife and wall the shoulder lines on all four sides. Check that the shoulder lines meet exactly at the corners.
What to take from this
Lay out everything from marked reference faces and edges. Use a marking knife, squares, and gauges for joint lines, and pencils only for rough marks. Transfer dimensions directly from chisels, mating parts, story sticks, and dividers instead of reading a ruler. Pare a V on the waste side of a knife line to make a wall that guides the saw and chisel exactly.
Practice
Every gauge and square is run against the trued face and edge, so errors don’t accumulate from untrue surfaces.
Lesson complete
Nice work.
Sources for this lesson
- 1Joshua A. Klein. The Foundations Course (Apprenticeship Series). Mortise & Tenon Magazine. verifiedHand-tool furniture making from pre-industrial originals - tool selection, sharpening, lumber processing, mortise and tenon, through and half-blind dovetails, nailed rabbets, dados, and shellac and milk paint finishes.
- 2Christopher Schwarz. The Anarchist's Tool Chest. Lost Art Press. 2011. verifiedArgues a kit of fewer than 50 good hand tools can build almost anything; explains how to choose each tool, new or antique, and how to build a chest to hold them. Free PDF from the publisher.