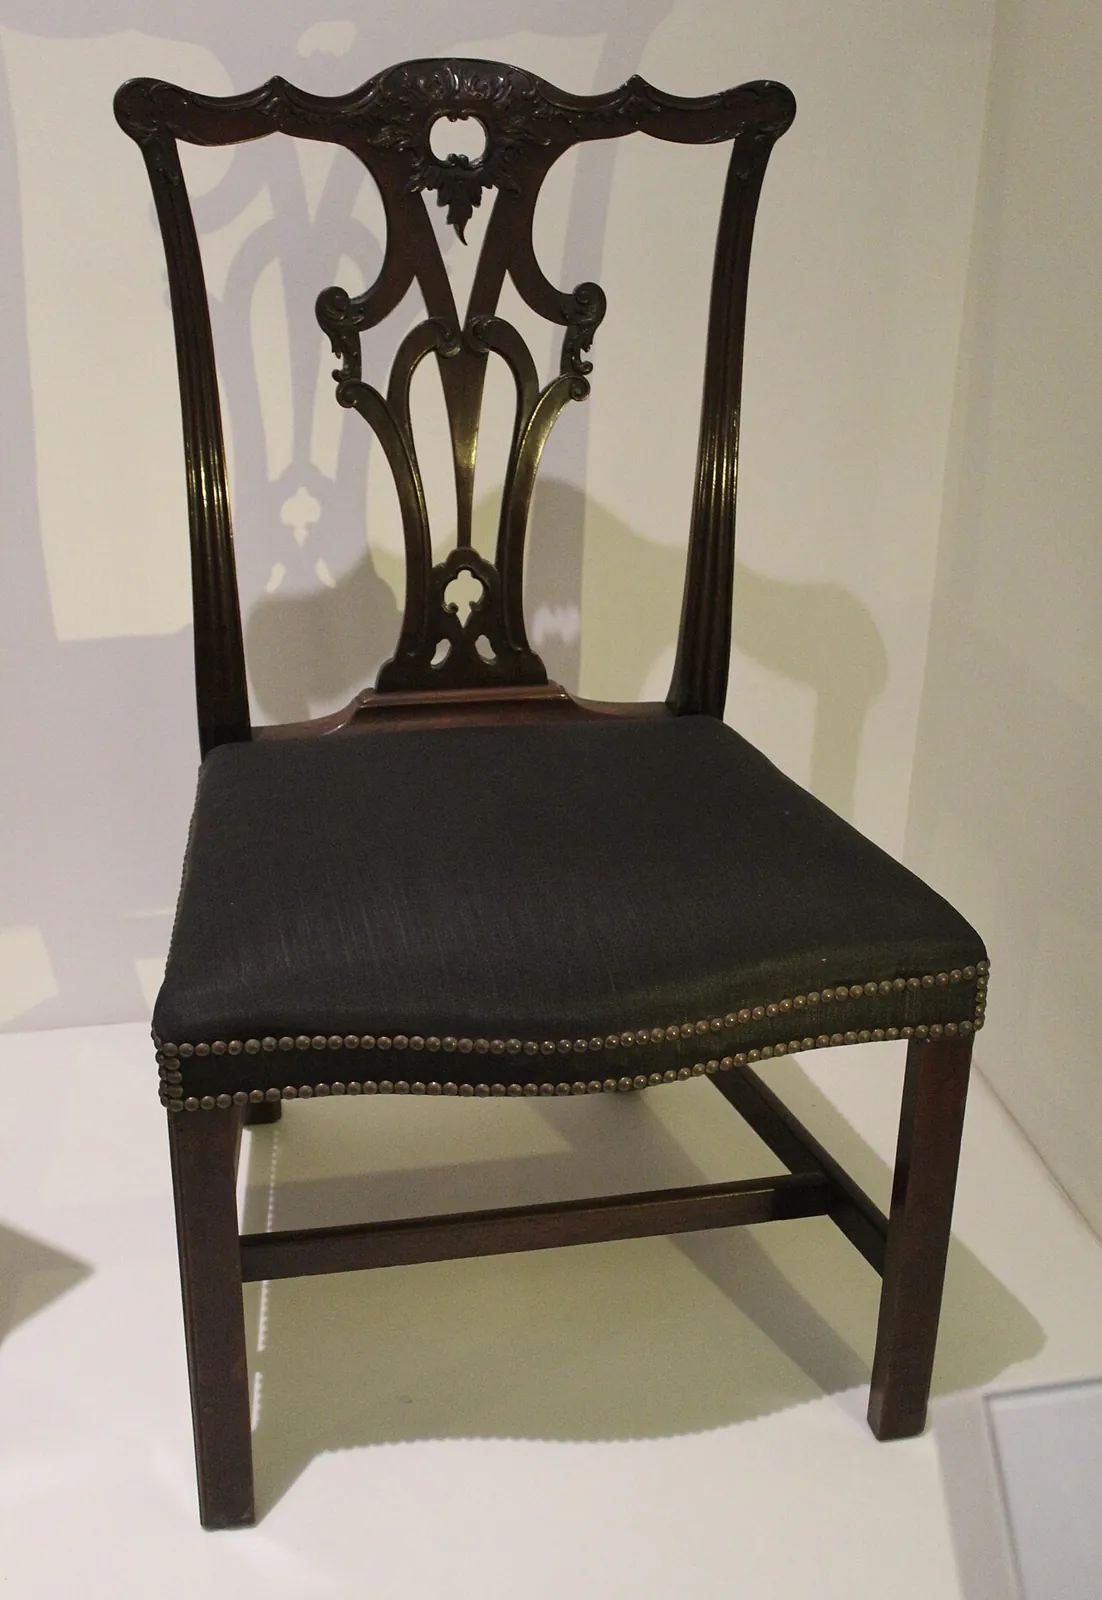
The Slip Seat: A First Upholstered Seat
A first upholstered seat: the layers of frame, support, filling, and cover, sizing a drop-in board and cleats to the opening, choosing foam by density and firmness, cutting the cover, stapling opposites first, folding corners, and keeping a care record.
- 7 min
- 8 steps
- 3 questions
- Lesson 133 of 160
In this lesson
- Read an upholstered seat as layers
- Size the seat to the frame, not the other way round
- Choose the filling by firmness, not by thickness alone
- Cut the cover from the board, not from a guess
- Pull opposites first
- Close and fix the seat
- Care record
Picking up where you left off.
A woven seat is a tensioned skin across rails. A slip seat—also called a drop-in seat—is the next idea: a separate padded board that sits inside the frame and lifts out with two screws. It is the smallest complete piece of upholstery you can make, and it teaches the vocabulary every upholstered chair uses: a rigid base, a resilient filling, a wrap that softens edges, a show cover pulled to even tension, and a dust cover that closes the underside.
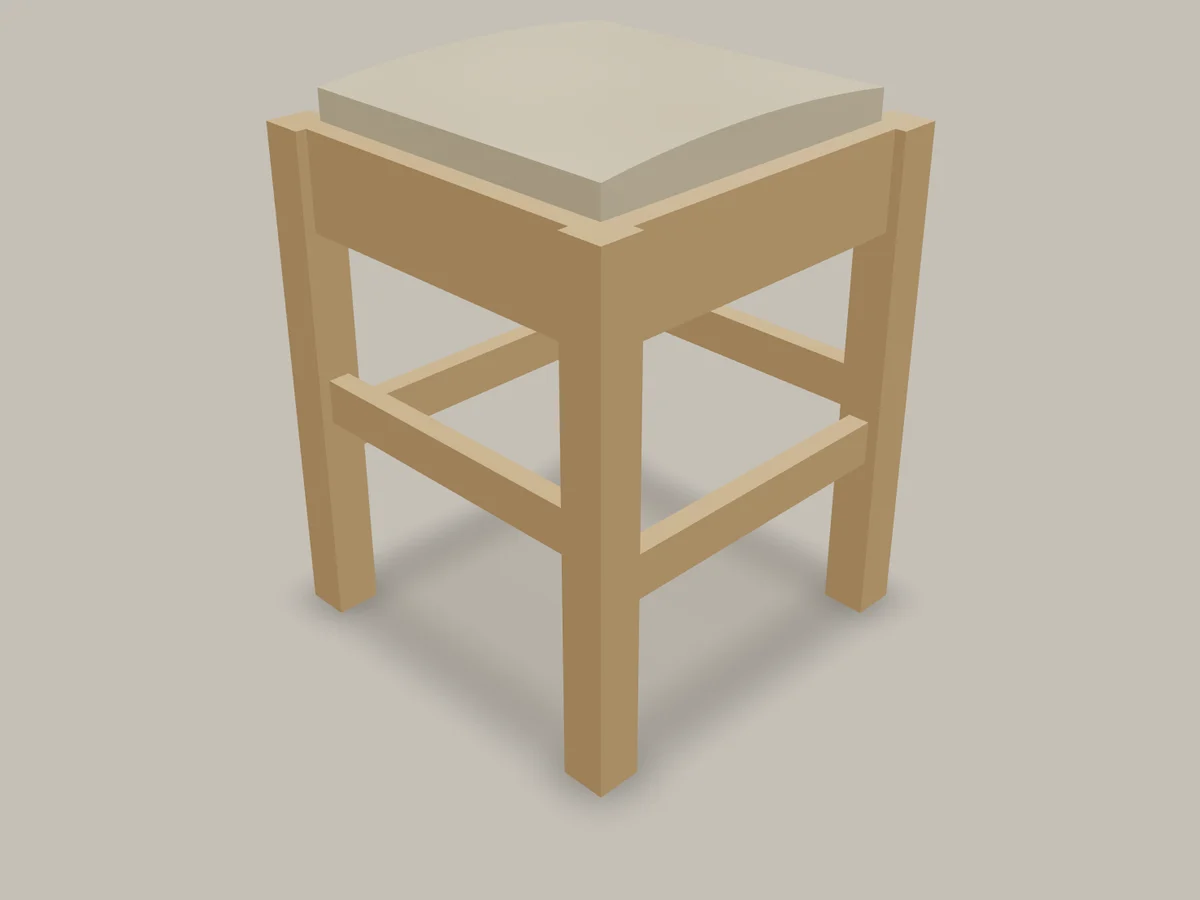
This lesson turns the Four-Square Stool from Plan Room 6.2 into an upholstered stool. Build the base exactly as that plan specifies; only the seat changes.
Read an upholstered seat as layers
Conservators describe upholstered furniture as a composite: frame, supporting materials, fillings, and covers, each with its own ageing behavior and each affecting the others 1. That view is useful when you build, too. For this seat, from the bottom up:

| Layer | Material | Job |
|---|---|---|
| Support | Hardwood cleats inside the aprons | Carry the seat and the sitter to the frame |
| Base | 1/2-in. plywood board | A flat, rigid platform with a place to staple |
| Filling | 1 1/2-in. firm polyurethane foam | Resilience and pressure distribution |
| Wrap | Polyester batting | Soften foam edges; let the cover slide as it is pulled |
| Show cover | Upholstery fabric | Wear surface and appearance |
| Dust cover | Cambric or similar lining | Close the underside and hide raw edges |
Each layer is replaceable. That is the same repair logic as a woven seat: the frame is the long-lived structure; the seat is a renewable working surface.
Size the seat to the frame, not the other way round
Measure the opening inside the aprons at the cleat height, at front, back, and both sides. For the Plan Room stool the opening is about 11 3/4 inches square. The board must drop in with fabric wrapped around it, so leave clearance for the cover on every side:
- board = opening − 2 × (cover allowance), roughly 1/8 in. per side for mid-weight fabric;
- for the stool, an 11 1/2-in. square board.
Heavier fabric needs more room. Fit a scrap of your actual cover around a sample board edge before cutting the real one.
Cleats
Glue and screw a 3/4 × 3/4-in. hardwood cleat to the inside face of each apron so its top sits 1 1/2 in. below the apron top. That depth lets the board sit low enough for the padded crown to finish near the plan’s 18-inch seat height. Keep cleat screws short enough that they cannot break through the apron face, and drill pilot holes.
Cut two corner cleats short or notch them so the four meet cleanly. Drill a clearance hole through two opposite cleats for the screws that will hold the seat down.
Stop gate: a bare 11 1/2-in. board drops onto all four cleats, sits flat without rocking, and leaves an even gap all round.
Quick check
For an 11 3/4-inch opening, an 11 1/2-inch board leaves room for the cover on every side.
Choose the filling by firmness, not by thickness alone
Foam labels mix several properties. The Polyurethane Foam Association separates density (how much polymer is in a given volume, a durability indicator) from firmness, reported as indentation force deflection or IFD, and support factor (how much firmer the foam becomes as it compresses) 2. A thin seat needs foam that is firm enough not to bottom out: a soft, thick-looking foam can feel hard in use because the sitter reaches the board.
For a 1 1/2-in. dining-height seat, ask a supplier for a firm, high-density seating foam and read its actual density and IFD figures. Record them; your second seat will be better for it.
Cut the foam to the board size with a long sharp blade or foam saw. A slight bevel on the top edges helps the cover round over the edge instead of forming a hard ridge. Follow the adhesive maker’s instructions and ventilation requirements if you spray-glue the foam to the board.
Quick check
Density indicates durability; IFD measures firmness. A thin seat needs firm, high-density seating foam.
Cut the cover from the board, not from a guess
The cover must reach from the board’s face, over the foam and the board edge, and far enough underneath to grip and staple. A dependable estimate is
where \(g\) is the grip allowance under the board, about 2 inches for hand pulling. For the stool:
Cut the batting the same size as the foam top plus enough to come down the sides, and the dust cover about 1/2 in. smaller than the board so its folded edge stays hidden.
Decide pattern and grain before you cut. Center any motif on the seat, keep stripes square to the front, and check whether the fabric has a nap or directional weave. For wear, compare the fabric’s published abrasion and physical-property results with the use the seat will see; contract-textile guidelines explain what those tests do and do not predict 3.
Stop gate: the board, foam, batting, cover, and dust cover are cut, labelled, and laid out; the cover’s center marks are on all four edges.
Pull opposites first
Lay the cover face down, center the batting and foam board on it (foam down), and mark the center of each board edge. Then work opposites first:
- Staple the front center, then pull the back center firmly and staple.
- Staple the left center, then pull the right center and staple.
- Work outward from each center in pairs toward the corners, always moving to the opposite side before advancing, and keeping the same pull.
- Stop about 2 inches short of every corner.
Turn the seat over after each pair. The grain should stay straight and the crown even; a wandering stripe or a diagonal ripple means one side has taken more pull than its opposite. Pull staples and correct small drift early rather than burying it at the corners.
Keep fingers away from the staple path, use the stapler the way its manufacturer directs, and never staple toward a hand holding the fabric.
Corners
Pull the corner point straight toward the board’s diagonal and staple it. Fold the fullness on each side into a single neat pleat or a pair of mirrored pleats, trim excess bulk underneath the board only, and staple. Mirror the method at all four corners—the eye reads mismatch instantly.
Stop gate: the seat drops into the frame with even clearance, the crown is centered, the corners match, and no staple or fold lifts the board off a cleat.
Quick check
Working opposites keeps tension even, so the grain stays straight and the crown centered.
Close and fix the seat
Staple the dust cover to the underside with its edges turned under. Drop the seat into the frame and drive two screws up through the prepared cleats into the board. Screws let the seat lift out for recovering; do not glue it in.
Care record
Add a card to the build log:
- foam supplier, density, IFD, and thickness;
- batting and cover fabric, with supplier and any test results;
- cover blank size actually used;
- stapler and staple size; and
- date and a photo of the underside.
When the cover wears, the seat comes out, the dust cover comes off, and every layer can be renewed on the bench—the same renewable-skin idea as a woven seat, and the foundation of every upholstered chair.
Lesson complete
Nice work.
Sources for this lesson
- 1Conserve O Gram 7/4 — Upholstered Furniture: Agents of Deterioration. U.S. National Park Service. 1993. verifiedGovernment conservation guide describing the composite build of upholstered furniture, historic fillings, coil springs, show covers, and interactions among materials. Cited at: composite build.
- 2Foam Performance. Polyurethane Foam Association. verifiedTechnical trade guidance distinguishing polymer density, firmness or IFD, support factor, flex fatigue, strength, resilience, and durability. Cited at: density, IFD, and support factor.
- 3Physical Properties Guideline for Woven Fabrics, Indoor Use. Association for Contract Textiles. verifiedVoluntary upholstery guideline covering pilling, breaking strength, seam slippage, test methods, minimums, and the limits of predicting field performance from one laboratory result. Cited at: scope of the guideline.