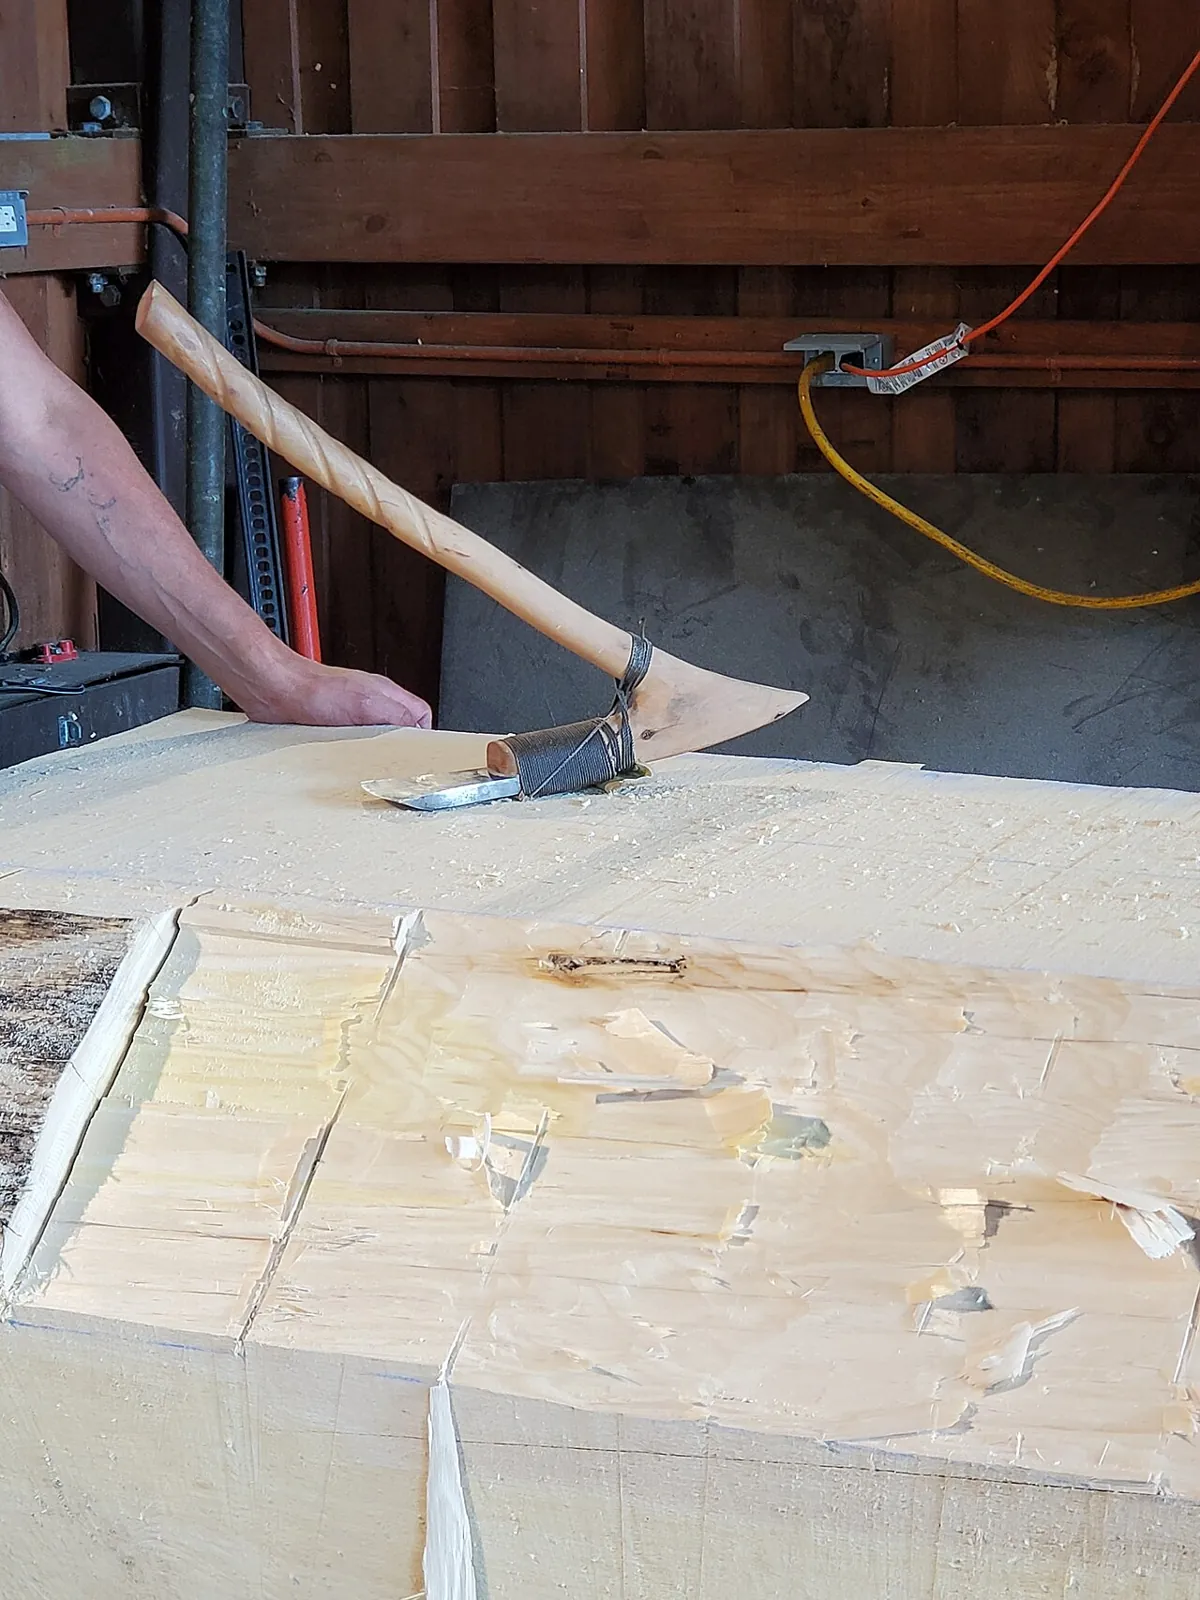
Carving Bowls with Adze and Hook Knife
A hand-carved bowl from a green half-log: choosing the log, splitting through the pith, layout with string and nails, hollowing with an adze, cleaning up with gouges and a hook knife, axing and spokeshaving the outside, even walls, slow drying, and finishing cuts.
- 4 min
- 6 steps
- 3 questions
- Lesson 15 of 204
In this lesson
- The blank
- Layout
- Hollowing
- The outside and walls
- Drying and finishing
- What to take from this
Picking up where you left off.
The blank
David Fisher’s starting point: a green log about 10 in. in diameter and 18 in. long, knot-free, of a soft, tight-grained hardwood - birch, poplar, soft maple, willow - or harder cherry, hard maple, and fruitwoods 1. Read the bark and end grain before you commit; problems you see now are problems you avoid later 1.
.jpg)
Split through the pith with a maul and wedges 1. Each half is a bowl blank, and the pith, which cracks as it dries, comes out with the hollow or is hewn off.
Bowls are carved both ways up: hollowed into the split face, so the rim follows the flat and the bottom rides the bark side, or hollowed into the bark side. Hollowing the split face is the usual choice for a first bowl.
Quick check
Leaving the pith in a bowl almost guarantees a crack.
Layout
Flatten the split face with an axe if needed. Fisher lays out the hollow with two nails and a string (an ellipse), then sketches handles and rim with compass arcs and S-curves 1. Mark the depth on the ends.
Hollowing
The adze removes the bulk. Fisher braces the blank against his thigh on a sturdy bench rather than clamping it 1; beginners may prefer a bench with stops or a low chopping stump with the blank wedged.
- Use short, controlled swings, keeping feet and legs out of the line of the swing.
- Cut across the grain, working from the far rim toward the middle, then from the middle toward the near rim, so each cut goes downhill.
- Stop short of the final surface.
Then switch to gouges (pushed or tapped with a mallet) and a hook knife to fair the inside, cutting across or diagonally to the grain as with a spoon bowl 2. Fisher says the way the adze is swung and the gouge is pushed helps make the lines he’s after; the tool marks are the finish.
Playback is optional. If the player is unavailable, open the video at its source.
Quick check
Cut across the bowl, working from the far rim toward the middle and from the middle toward the near rim.
The outside and walls
Turn the blank over and shape the outside with an axe on the chopping block, then refine with a drawknife and spokeshave 1. Shape the handles at the ends, keeping them thick where the grain is short.
Keep the walls even, about 3/8-1/2 in. (10-12 mm) for a medium bowl, checking with your fingers or calipers. Even walls dry evenly; a thick bottom under thin walls is a common cause of cracks.
Sundqvist’s bowls in Slöjd in Wood are carved with axe, adze, and knife and often painted on the outside 3.
Quick check
Check thickness with fingers or calipers as you go.
Drying and finishing
Dry slowly: in a paper bag with shavings or a cardboard box for one to three weeks, turning it over, away from heat, then at room conditions. Weigh it every few days; when the weight stops dropping, it’s dry (see the Wood Drying lesson on turning blanks and bowls). Some cracking at handles is common - seal end grain at the handles with wax while drying.
When dry, take finishing cuts with freshly honed gouges and knife for crisp facets, then oil with a food-safe drying oil.
Playback is optional. If the player is unavailable, open the video at its source.
What to take from this
Start with a fresh, knot-free half-log of birch, poplar, soft maple, or willow, split through the pith. Lay out the hollow with string and nails, hollow with short adze swings across the grain, then fair with gouges and a hook knife. Axe and drawknife the outside, keep walls an even 10-12 mm, dry slowly while weighing it, and finish with clean cuts and drying oil.
Lesson complete
Nice work.
Sources for this lesson
- 1David Fisher. Carve a Greenwood Bowl. Fine Woodworking. 2017. verifiedFine Woodworking 263. A green log about 10 in. by 18 in. of birch, poplar, soft maple, or willow, split through the pith; layout with string and nails; adze, axe, gouges, drawknife, and spokeshave.
- 2Wille Sundqvist. Swedish Carving Techniques. Taunton Press (reissued by Abrams). 1990. verifiedAxe and knife grips, sharpening, and household woodenware such as butter paddles, spoons, ladles, and dough bowls.
- 3Jögge Sundqvist. Slöjd in Wood. Lost Art Press. 2018. verifiedPublisher excerpt (PDF) of the English translation of the Swedish classic; butter knife, spoons, bowls, sheath, hooks, and painted decoration in the Västerbotten tradition.