Fitting and Shaping the Handle
Days one through three: fit the bolster to a tight slot, draw the handle on the block, drill the tang hole from both ends and rasp it to fit, then glue with slow epoxy or fit dry and peen the tang over a butt end. Shaping with knife, rasp, and file, sanding, and oiling; and the stacked birch-bark alternative.
- 3 min
- 7 steps
- 2 questions
- Lesson 164 of 204
In this lesson
- Fit the bolster
- Draw the handle
- The tang hole
- Fix the handle
- Shape and finish
- Birch bark instead
- Try it
Picking up where you left off.
Fit the bolster
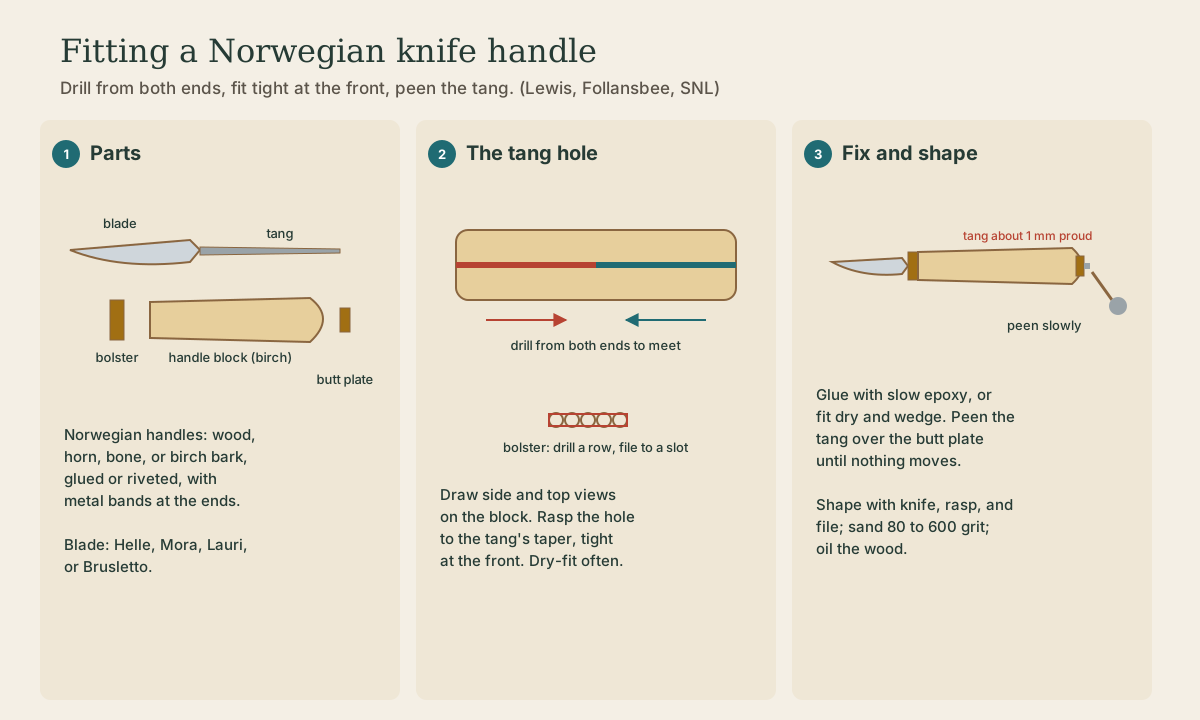
The bolster is a thin brass or nickel-silver plate that slides over the tang against the blade’s shoulder. Glen Lewis’s method: drill a row of holes nearly touching along the drawn slot, then needle-file them into one slot until the bolster slides on tight. His first took about five hours 1. Go slowly at the end; a gap here shows forever.
Draw the handle
Trace the handle’s side view and top view on the block, and mark where the tang enters at the front and leaves at the back 1. Leave the block oversize; you’ll shape it after it’s fixed.
The tang hole
Drill from both ends to meet in the middle: Lewis used a drill-press jig to keep the holes aligned 1, and Peter Follansbee bores each end with a bit matching the small end of the tang, then widens with holes above and below 2.
Then shape the hole to the tang’s taper with a rasp or a thin file, keeping it tight at the front, where the handle meets the bolster 1. Groven’s class makes thin tang saws from hardware-store stock 3; a hacksaw blade ground narrow does the same job of opening the slot. Dry-fit often.
Quick check
A long hole drilled from one end tends to wander out the side.
Fix the handle
Norwegian handles were fixed with glue or rivets 4. Two ways:
- Epoxy and peen. Cut the tang so about 1 mm stands proud of the butt end. Clean the parts with acetone, put slow-setting epoxy in the handle, assemble, and peen the tang slowly over the butt end with a small ball-peen hammer until nothing moves. Let it cure a day or two 1.
- Dry and wedged. Follansbee holds the blade in locking pliers, drives the handle on, peens the tang with glancing blows, and fills any gaps with small wedges; he notes glue won’t hurt 2.
Quick check
Just enough to spread into a rivet head over the butt end.
Shape and finish
Shape the handle to your outline with knife, rasp, and file, rounding the corners. Lewis sands through 80, 150, 220, 320, 400, and 600 grit and finishes with tung oil 1. Groven’s class does it all by hand, without power tools 3. Hold the knife in every grip you’ll use and remove whatever presses on your hand.
Playback is optional. If the player is unavailable, open the video at its source.
Birch bark instead
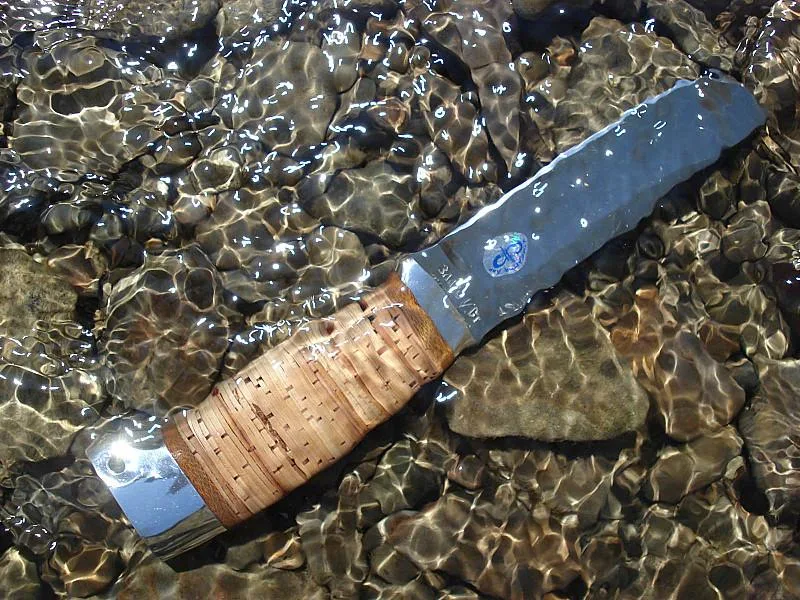
Birch bark is a traditional handle material 4. For a stacked birch-bark handle, Dave Polaschek punches overlapping holes in scraped bark pieces, threads them on, tamps every dozen, presses the stack in a threaded-rod jig, and bakes it 2 hours at 225°F to soften the birch pitch so it fuses; the tang is threaded and finished with washers and a nut 5.

Try it
Drill a practice tang hole from both ends in a scrap the length of your handle and split it open afterward. If the two holes missed, you’ll see by how much, and you’ll know how carefully to mark the real block.
Lesson complete
Nice work.
Sources for this lesson
- 1Glen Lewis. Custom too Expensive? How about making your own?. Hoodoo's Cache, Grand Valley State University. 2003. verifiedA puukko: 5-in Lauri carbon blade, curly birch block, 3 mm nickel-silver bolster. Bolster slot: drill holes nearly touching, then needle-file to a tight fit (about 5 hours for the first). Trace side and top views on the block; drill the tang hole from both ends to meet; rasp to the tang shape, tight at the front. Cut the tang to leave about 1 mm proud; acetone clean; slow epoxy in the handle; peen slowly with a small ball-peen until the rear bolster won't move; cure a day or two. Shape, sand 80 to 600, tung oil; zero-bevel Scandi edge.
- 2Peter Follansbee. Slöyd Knife and Sheath. Popular Woodworking. 2018. verifiedMora 106 laminated blade in a birch handle cut just shorter than the tang; bore from each end with a bit matching the small end of the tang, widen with holes above and below; drive the handle on with the blade held in locking pliers, peen the tang with glancing blows, fill gaps with small wedges; no glue needed. Sheath of woven birch bark.
- 3Beginner Knifemaking and Hand Tools. Vesterheim Folk Art School. verifiedKJ Groven, Nov 13-15, 2026, beginner friendly, $290/$320: hand-carve a handle on a pre-made blade, without power tools, 'more of a knife for carving than a fancy belt knife'; a traditional Norwegian sheath of vegetable-tanned leather, with or without a belt hoop; make an awl, a leather modeling (pauting) tool, and two tang saws, one from scratch with push-and-pull teeth. No forging.
- 4Audun Dybdahl, Eivind Falk. Kniv - tradisjonell bruk. Store norske leksikon. 2026. verifiedBlade parts: tang, grinding bevel, edge, spine; traditionally soft steel forged around a hard edge steel. Handles fixed with glue or rivets; of wood, horn, bone, birch bark, leather, or metal, with metal bands at the ends. Sheaths usually leather, carved, stamped, or embossed; centers at Tinn, Toten, and Gjerstad.
- 5Dave Polaschek. Handy Tools - Stacked Knife Handle Tools. write.as. 2022. verifiedStacked birch-bark handle: punch overlapping holes in scraped bark pieces, tamp every dozen, press in an all-thread jig, bake 2 hours at 225 F to soften the birch pitch; Mora 120 tang threaded 8-32 on the last 1/4 in with washers and a nut.