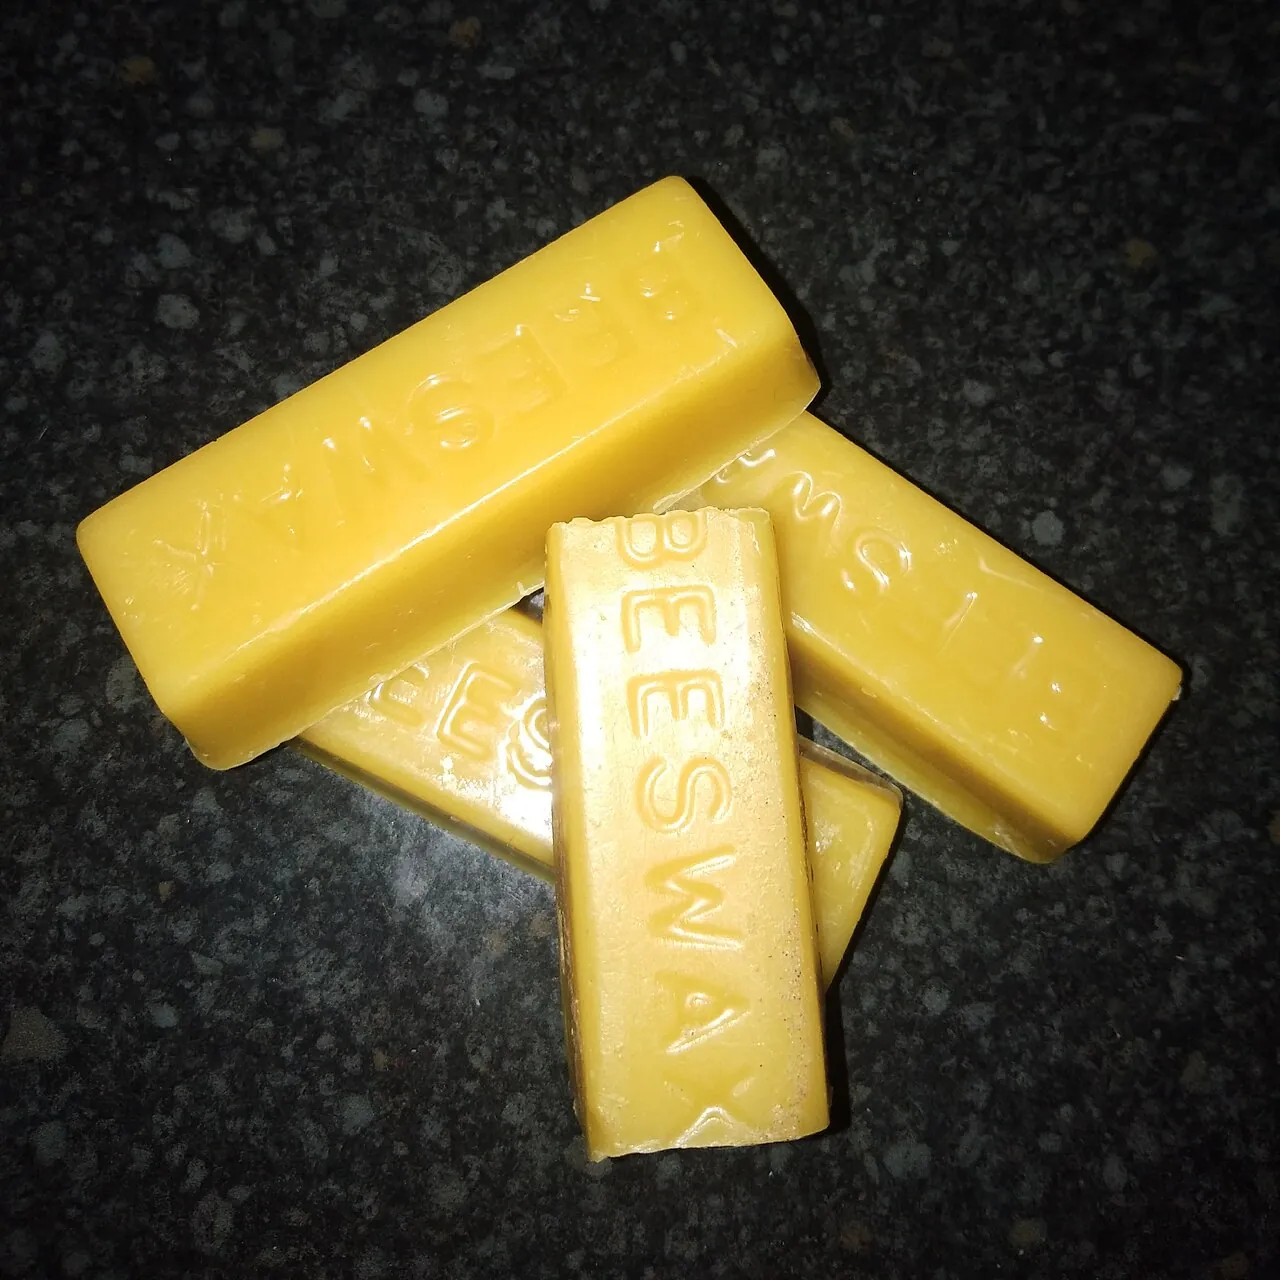
Beeswax and Oil Blends
Wax gives a soft luster but almost no protection; oil soaks in and hardens; together, as paste wax, oil-wax blends, or "spoon butter," they make the classic hand finishes for furniture, carvings, and kitchen wood.
- 4 min
- 5 steps
- 3 questions
- Lesson 37 of 204
In this lesson
- Wax on its own
- Oil plus wax
- Kitchen wood: spoons, bowls, and boards
- Using wax well
- What to take from this
Picking up where you left off.
Wax on its own
Wax is the oldest furniture polish: rub it on, buff it off, and wood takes on a soft glow and a pleasant feel. Beeswax is soft and warm in color; carnauba, from a Brazilian palm, is much harder and shinier; paraffin is the cheap, colorless petroleum wax. A wax coat is very thin and soft, so on its own it adds little protection against water, heat, or wear; its real job is luster, a smooth hand, and a sacrificial layer over a harder finish 1.

Quick check
Wax is soft and applied so thin that it adds little protection, though it adds luster and a pleasant feel and is easy to renew.
Oil plus wax
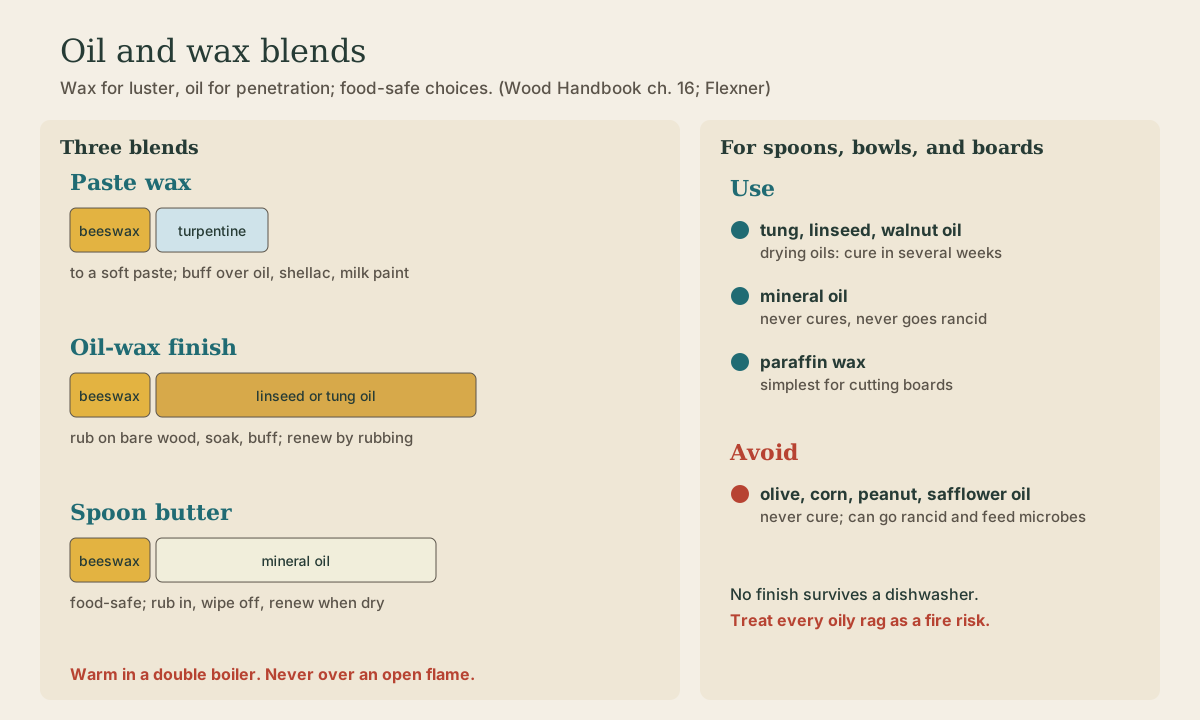
Combining a drying oil with wax gives you both: the oil soaks in and hardens, the wax builds a little body and sheen on top. Classic blends:
- Paste wax: beeswax (sometimes with carnauba) melted and thinned with turpentine or mineral spirits to a soft paste. Rub on, let the solvent flash off, buff. Used over oil, shellac, or milk paint.
- Oil-wax finish: beeswax dissolved into warm linseed or tung oil, sometimes with a little turpentine, rubbed on bare wood, left to soak, and buffed. A traditional hand finish for country furniture and carvings, renewed by more rubbing.
- Hardwax oils sold for floors and furniture are modern, engineered versions of the same idea.
A rough starting point for a homemade oil-wax blend is about 1 part grated beeswax to 4 parts oil by volume, warmed in a double boiler until melted, with turpentine to soften it if wanted. More wax makes it stiffer and more lustrous; more oil makes it penetrate.
Never heat oils, waxes, or turpentine over an open flame; use a double boiler or a water bath on a hot plate, outdoors or well ventilated. And treat every oily rag as a fire risk.
Kitchen wood: spoons, bowls, and boards
For anything that touches food, the Wood Handbook’s guidance 2:
- Drying oils such as tung, linseed, and walnut form a cured, water-resistant sealer, but can take several weeks to cure fully.
- Nondrying vegetable oils (olive, corn, peanut, safflower) soak in but never cure; they feed mildew and bacteria and can go rancid, giving off odors and flavors. Avoid them.
- Mineral (paraffin) oil doesn’t cure either, but it doesn’t go rancid or feed microbes. Paraffin wax is one of the simplest finishes for cutting boards and butcher blocks, especially applied to slightly warmed wood.
- Look for products labeled food grade.
That’s why carved spoon and bowl makers often use either a fully cured drying oil (raw linseed or pure tung, left to cure for weeks) or “spoon butter”: food-grade mineral oil thickened with beeswax, roughly 1 part wax to 3 or 4 parts oil, melted together and cooled to a soft paste. Rub it in, let it sit, and wipe off the excess; renew whenever the wood looks dry.
Dishwashers ruin wooden utensils regardless of finish.
Quick check
Use a fully cured drying oil, or mineral oil and beeswax spoon butter.
Using wax well
- Apply wax thin; thick wax smears and collects dust.
- Let the solvent evaporate (it hazes over in minutes), then buff with a soft cloth or brush.
- Renew wax a few times a year on furniture; remove built-up wax with mineral spirits if it gets gummy.
- Wax over oil, shellac, or milk paint changes the look little and adds feel and some protection.
What to take from this
Wax adds luster and feel but little protection; oil soaks in and cures; together they make the classic hand finishes. Use paste wax or oil-wax blends on furniture and carvings, warmed only in a double boiler. For food contact, use fully cured drying oils, or mineral oil and wax (“spoon butter”), never olive or other cooking oils, which go rancid.
Practice
The Wood Handbook notes vegetable oils like olive and corn oil don’t cure, feed mildew, and can turn rancid. Mineral oil and paraffin don’t.
Lesson complete
Nice work.
Sources for this lesson
- 1Bob Flexner. Understanding Wood Finishing: How to Select and Apply the Right Finish. 3rd revised ed. Fox Chapel Publishing. 2021. verifiedThe standard reference on finish chemistry and practice - drying oils and driers, shellac cuts, waxes, and what each finish can and can't do. Cited at: Wax.
- 2Finishing Wood (Wood Handbook, Chapter 16). USDA Forest Service, Forest Products Laboratory, FPL-GTR-282. 2021. verifiedWeathering and UV damage to lignin, sunburned wood and the tape test, paint versus penetrating finishes, drying and nondrying oils, food-contact finishes, and the spontaneous-combustion warning for oily rags. Cited at: Food-Contact Finishes.