Tools, Cutting, and Skiving
You can make good leather goods with about ten tools: a sharp knife and metal straightedge, a cutting mat, a strap cutter, a wing divider or groover, stitching chisels, an awl, harness needles and waxed thread, a mallet, an edge beveler, and a burnisher. How to cut clean, straight edges safely, and how and why to skive (pare leather thinner) where layers overlap, with a few pieces of old advice from a 1929 leatherworking textbook.
- 3 min
- 5 steps
- 2 questions
- Lesson 99 of 204
In this lesson
- The starter kit
- Cutting clean and safe
- Skiving
- Old advice that still holds
- Try it
Picking up where you left off.
Leathercraft suppliers sell hundreds of tools, but you need very few to start. Tandy Leather’s beginner list is a good one 1.
The starter kit
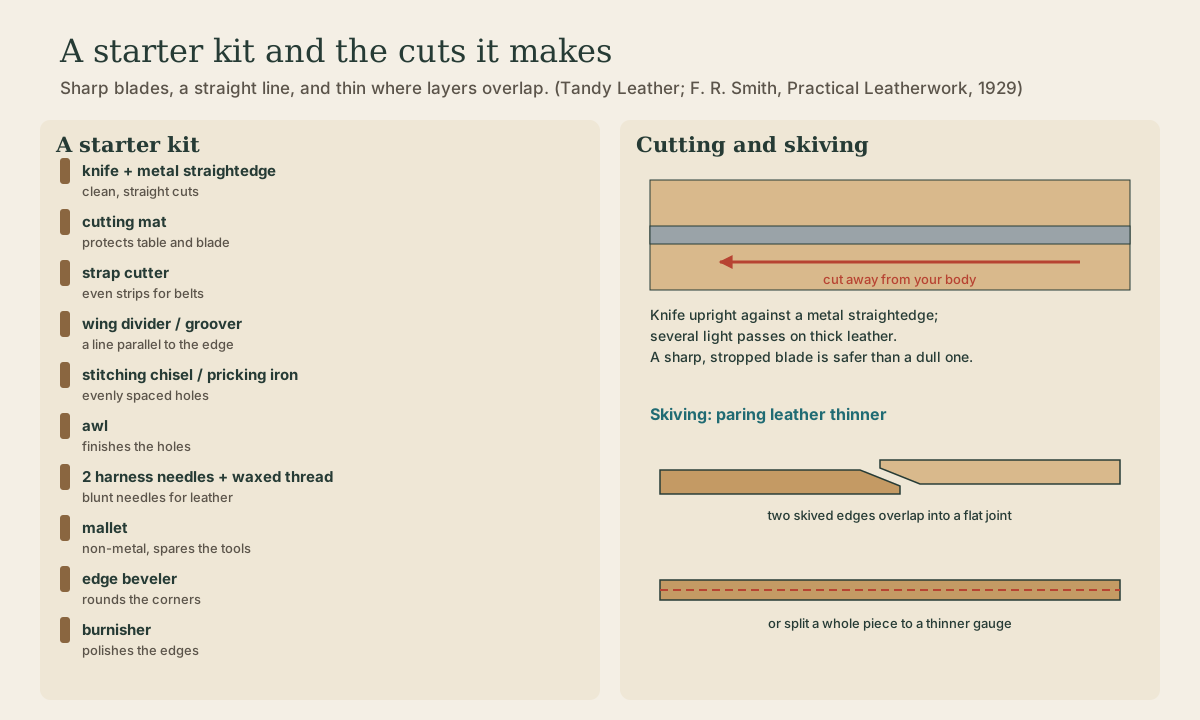
- A sharp knife or rotary cutter, a metal ruler or straightedge, and a cutting mat for clean, straight cuts. Plastic rulers don’t survive a knife 1.
- A strap cutter for long, even strips for belts, straps, and handles 1.
- A wing divider (or stitching groover) to mark a stitch line parallel to the edge 1.
- Stitching chisels to punch evenly spaced holes, and an awl to make or enlarge holes 1.
- Harness needles, blunt needles made for leather, and waxed thread 1.
- A non-metal mallet, so you don’t damage the tools you strike 1.
- An edge beveler to round the corners of cut edges, and a burnishing tool to smooth and seal them 1.
Stamping tools, rivet setters, and specialty gear can come later 1.

Cutting clean and safe
Lay a paper or cardboard pattern on the grain side, trace it, and cut along a straightedge with the knife held upright. On thick leather, make several light passes rather than one hard one. Tandy’s safety rules are simple: always cut away from your body, and remember that sharp blades are safer than dull ones, because a dull blade needs force and slips. Wear safety glasses when hammering or punching, and protect the table with a mat or scrap board 1. Keep your knives and bevelers sharp by stropping them often 2.
Quick check
And always cut away from your body.
Skiving
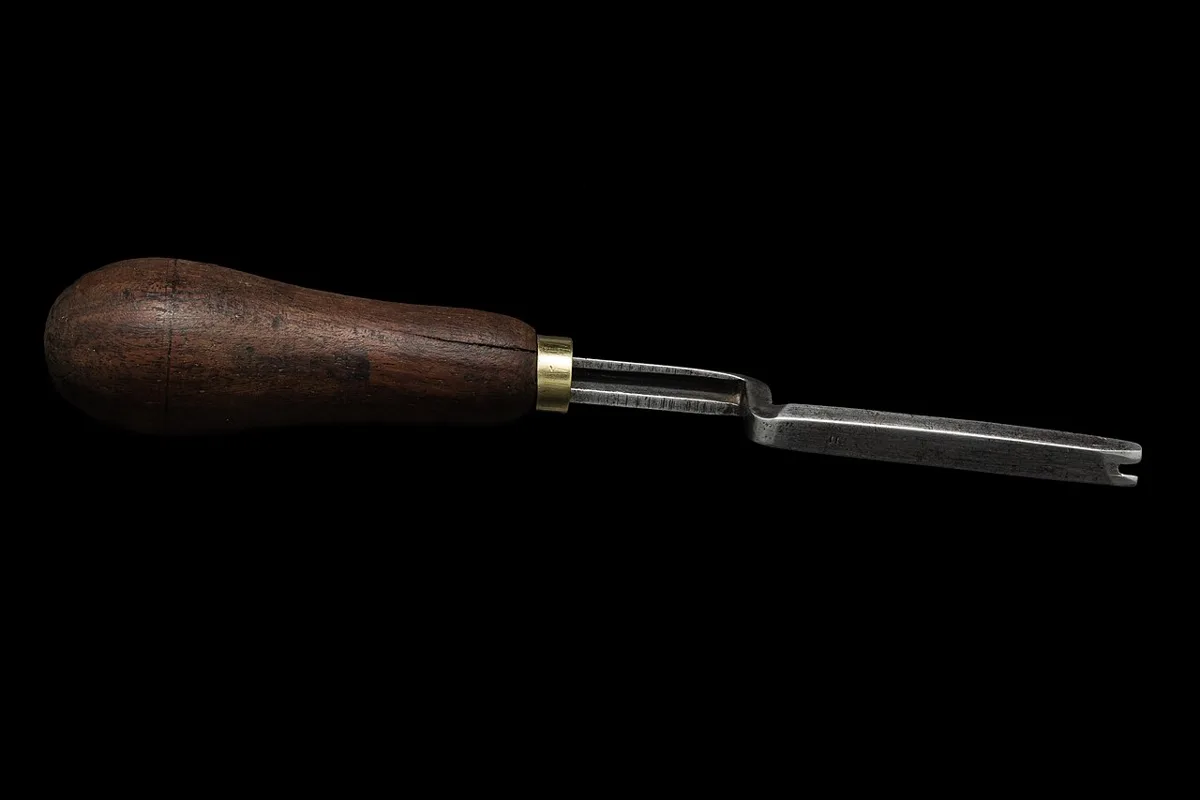
Where two pieces overlap, at a fold, a seam, or a strap end turned back on itself, the double thickness makes a lump. Skiving solves it. A 1929 British textbook defines it two ways: beveling an edge by paring it thinner, or splitting a skin horizontally into thinner layers 3. Pare the flesh side of each edge into a gentle taper with a sharp skiving knife, so the overlapped joint is no thicker than one layer; “provided the skiving has been well done,” the old book says of a covered box, the joints “will hardly be visible” 3.
Quick check
Skived edges let layers overlap without a lump; a 1929 manual says well-skived joints hardly show.
Old advice that still holds
The same 1929 book has two warnings for anyone working damp vegetable-tanned leather 3:
- Never use a steel straightedge on it: the stain it leaves “cannot be removed.” Use a non-steel rule on damp leather, or cut it dry.
- Dampen the whole piece, not a patch: if only a small area is damped, its edges dry and leave a mark.
Try it
Cut a key fob, a strip about 1 inch by 8 inches, from 6–8 oz veg-tan with a knife and straightedge, using several light passes. Then skive one end so it folds back over the other without a lump. It’s Tandy’s suggested first project for practicing cutting and edge work 1.
Lesson complete
Nice work.
Sources for this lesson
- 1Beginner's Guide to Leathercraft: Tools, Terms & Easy First Projects. Tandy Leather. verifiedStarter tools: sharp knife or rotary cutter, cutting mat, metal ruler, harness needles, waxed thread, stitching chisels, edge beveler, burnishing tool, non-metal mallet, awl, wing divider, strap cutter. Terms: grain side, flesh side, veg-tan (for carving and dyeing), chrome-tan (soft, for bags and clothes), burnishing, casing, saddle stitch. Safety: cut away from your body; sharp blades are safer than dull; safety glasses when hammering or punching; ventilation when dyeing or gluing. First projects: key fob, card holder, cord wrap.
- 2Tandy Skills: Edge Finishing Tutorial. Tandy Leather. verifiedTrim edges as close as possible, angling the knife slightly toward the liner, not the face; strop blades. Sand with 80-grit then 120-grit, angled away from the face, until the lamination line is straight. Bevel: cut only about one-third of the stacked leather, never through an entire layer, holding the beveler at about 45 degrees. Burnish: thin coat of burnishing solution, run the burnisher along the edge to compress fibers, sand lightly, repeat until smooth and reflective. For edge paint, skip burnishing solution and sand lightly between coats.
- 3F. R. Smith. Practical Leatherwork: A Textbook for Students and Craft Workers. Sir Isaac Pitman & Sons, London. 1929. verifiedBritish art-leather manual: leathers (Persians, skivers, calf, modelling hide), tools, thonging, sewing, press fittings, modelled leather. Glossary: skiving is (a) splitting a skin horizontally into thicknesses or (b) beveling an edge by paring; skived joints are almost invisible. Never use a steel straight-edge on modelling leather: the stain cannot be removed. Damp the leather all over, since a small damped patch dries leaving a stain at its edge; transfer designs through tracing paper with a hard pencil rather than carbon paper. Beginners' modelling tools: broad modeller and double-ended Dresden.