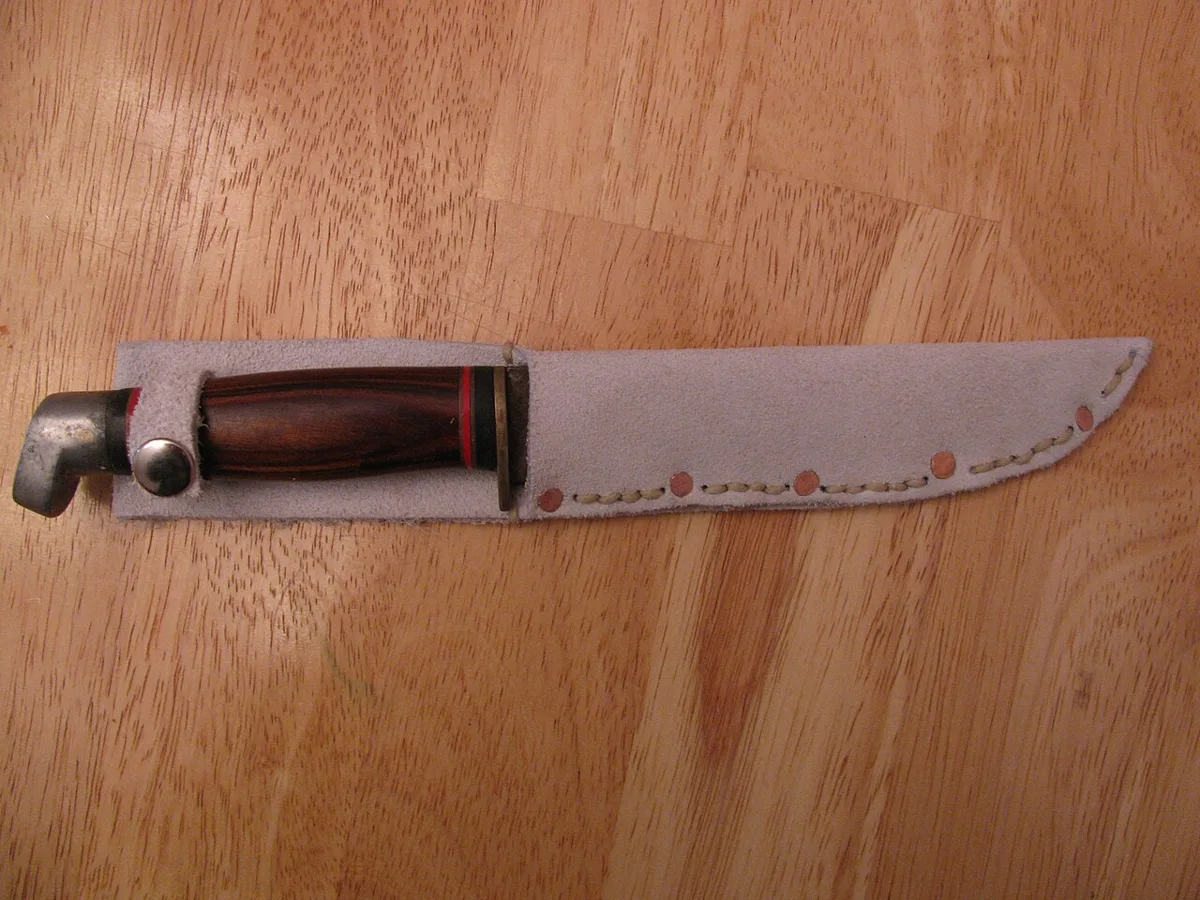
Casing and Wet-Forming a Sheath
Water is a tool in leatherwork. Dampened just right, a state called cased, vegetable-tanned leather takes crisp stamps and clean knife cuts. Soaked, it can be pressed around a knife and will keep that exact shape when it dries. How to tell when leather is cased, how to keep it workable, and how to wet-form a fitted knife sheath.
- 3 min
- 4 steps
- 2 questions
- Lesson 103 of 204
In this lesson
- What casing is
- Wet-forming a sheath
- Try it
Picking up where you left off.
Vegetable-tanned leather changes completely with moisture. That’s what makes it the carver’s and sheath-maker’s leather: add the right amount of water and it becomes something you can cut, press, and mold.
What casing is
Casing means adding and controlling moisture in vegetable-tanned leather so it’s ready for tooling or forming. Too dry, and it resists cutting and stamping. Too wet, and it turns mushy and impressions won’t hold 1.
To case leather for carving or stamping 1:
- Dampen the surface lightly with a sponge or spray bottle. Don’t flood it at once, which absorbs unevenly.
- Wait a few minutes. As the water soaks in, the surface returns to its natural color.
- Test: press lightly with a finger. If it feels cool and firm but takes a slight impression, it’s ready. If it still feels dry, add a little more water and wait.
- Re-wet lightly as it dries during work.
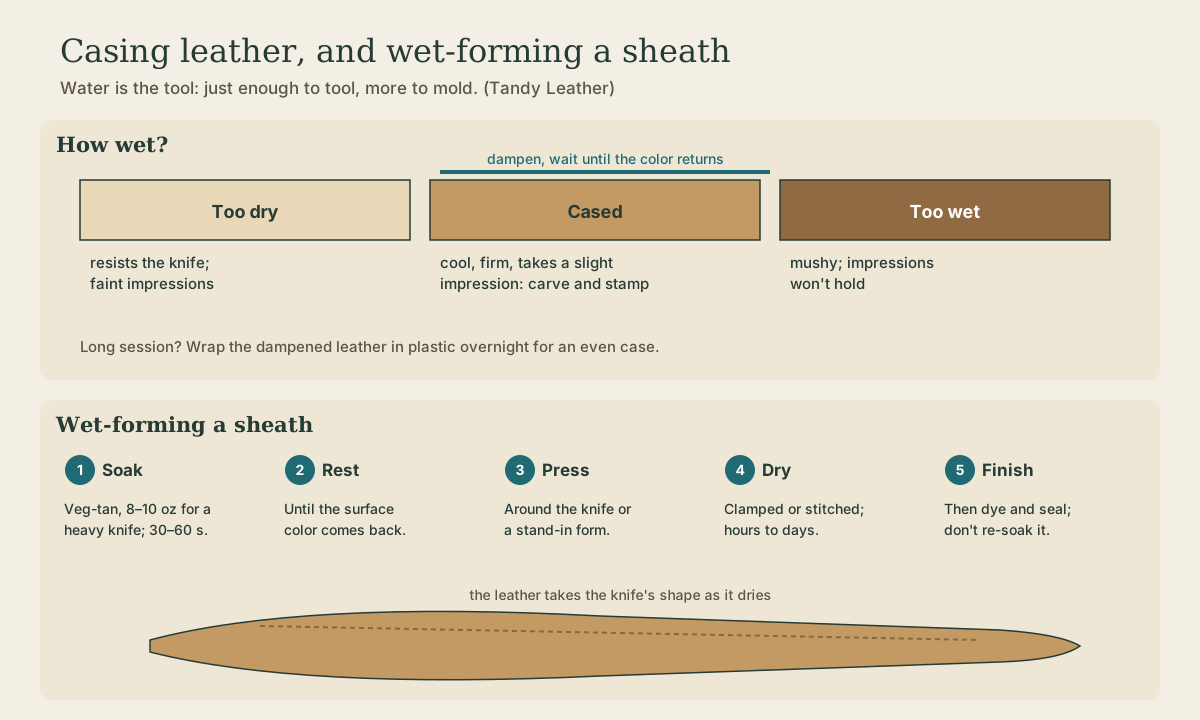
For a big carving, Tandy suggests a deep case: dampen the leather, wrap it in plastic, and leave it for several hours or overnight so the moisture evens out, then let it air a little before working 1.
Quick check
Too dry resists the tools; too wet is mushy and won’t hold an impression.
Wet-forming a sheath
Wet forming takes more water. The leather becomes pliable enough to press around an object, and when it dries it keeps that shape. It’s how holsters, cases, and fitted knife sheaths are made 2.
- Choose the leather. Use vegetable-tanned leather; thicker leather holds a structured shape better 2. Tandy’s chart puts sheaths around 8–9 oz 3.
- Cut and plan. Make a pattern with extra margin around the knife for the stitch line, and cut it out.
- Soak. Submerge the leather in room-temperature water for about 30 seconds to a minute, depending on thickness 1.
- Rest. Let it sit until the surface returns to its natural color and it feels flexible but not soggy 1.
- Press. Fold or wrap the leather around the knife (or a stand-in form the same shape) and press it to the contours with your fingers, defining the guard and handle 2.
- Secure and dry. Clamp or clip it so it keeps the shape, and let it dry completely, which can take hours or days depending on thickness and humidity 2.
- Finish. Stitch, dye, and seal. Be careful: oversaturating a formed piece with dye or casing water afterward can make it lose its shape 2.

Playback is optional. If the player is unavailable, open the video at its source.
Quick check
And soaking it again afterward, with dye or casing water, can make it lose its shape.
Try it
Case a scrap of 6–8 oz veg-tan and press a coin into it with your thumb. Try it again when the leather is too dry and when it’s dripping. You’ll feel the difference immediately, and you’ll know what “cased” means from then on.
Lesson complete
Nice work.
Sources for this lesson
- 1How to Case Leather for Tooling and Wet Forming. Tandy Leather. verifiedCasing adds and controls moisture in vegetable-tanned leather: too dry resists cutting and stamping; too wet is mushy and won't hold impressions. Dampen lightly with sponge or sprayer; let it absorb a few minutes as the surface returns to its natural color; ready when cool and firm but takes a slight impression; rewet as needed. For long sessions, wrap dampened leather in plastic for hours or overnight, then air slightly. For wet forming, submerge 30 seconds to a minute by thickness, let it sit until the surface color returns and it's flexible, shape it, and secure until dry.
- 2A Beginner's Guide to Wet Forming Leather. Tandy Leather. verifiedUse vegetable-tanned leather, which holds its shape; thicker leather for structured work. Dampen evenly, not dripping; press onto a mold or form; clamp or clip; air dry completely, hours or days; remove and finish. Caution: oversaturating with dye or casing after forming can make it lose shape. Used for holsters, sheaths, masks, armor.
- 3Understanding Leather Weights and Thickness: A Complete Chart. Tandy Leather. verifiedIn leathercraft an ounce measures thickness, not weight: 1 oz is about 1/64 inch or 0.4 mm; 4 oz is about 1/16 inch. Chart: 1-2 oz linings and book covers; 2-3 oz wallet interiors, watch straps; 3-4 oz wallet exteriors, small bags; 4-5 oz clutches, notebook covers; 5-6 oz satchels, medium belts; 6-7 oz tool pouches, sturdy belts; 7-8 oz heavy belts, holsters; 8-9 oz saddlery, sheaths; 9-10 oz harness, heavy straps; 10+ armor. Combined thickness of layers matters. Too thin and stitches pull through; too thick and it won't fold or sew.