Bottom Board, Transoms, and the Garboards
Days one and two: set up the bottom board on horses and spring it into a gentle rocker, make the two cleated transoms, and hang the first plank on each side, the garboard, which laps onto the bottom board. Spiling a plank's shape, beveling the lap, cutting the gains at each end, and the first rivets.
- 4 min
- 7 steps
- 2 questions
- Lesson 124 of 204
In this lesson
- Set up the bottom board
- Make the transoms
- Spile the garboard
- Bevel the lap
- Gains at the transoms
- Hang and rivet the garboards
- Try it
Picking up where you left off.
The first two days build the foundation: the bottom board, both transoms, and the garboards, the first plank on each side. Everything after depends on getting these fair.
Set up the bottom board
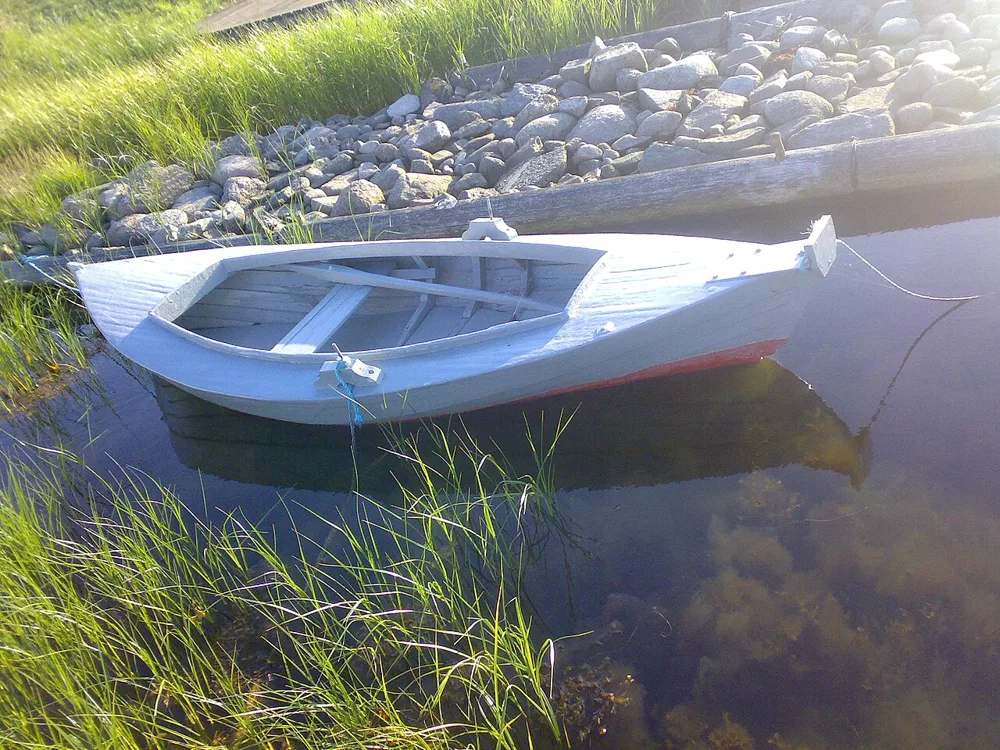
A pram’s backbone is its flat bottom board. On many museum prams it is made of several boards edge to edge: one Fredrikstad eke has three bottom boards side by side under four strakes a side 1. In a Holmsbu pram the bottom board lies under the two lowest strakes 2.
Edge-join the bottom boards if needed (cleats across the inside hold them until the frames go in). Mark the centerline, then lay out the outline, tapering toward both transoms. Watts’s design starts the same way: the keel plank is bent to rocker first 3. Set it on two sawhorses and weight or prop the ends up so it takes a gentle fore-and-aft curve. That rocker lets the boat turn and lifts the bow transom clear of the water.
Make the transoms
Each transom is a few boards joined edge to edge and held with cleats across the inside. The bow transom (the nose) is small; the stern transom is wider and taller. Both lean outward, or rake. Cut them oversize: traditional builders fit the transoms after planking by eye, while Watts supplies transom shapes and stands them up first as guides 3. For a first boat, standing them up early, braced to the bottom board and to the shop overhead, makes the planking easier to judge.
Spile the garboard
The garboard is the first plank on each side. To find its shape, tack a straight, thin spiling batten along where the plank will go, and at intervals mark on it the distance to the edge of the bottom board. Transfer those offsets to a plank blank, connect them with a flexible batten, and cut. In the traditional Norwegian method the planking is shaped by eye 3: spile the edge that must fit, and judge the other edge by sighting. Cut it a little full; you can always plane off.
Bevel the lap
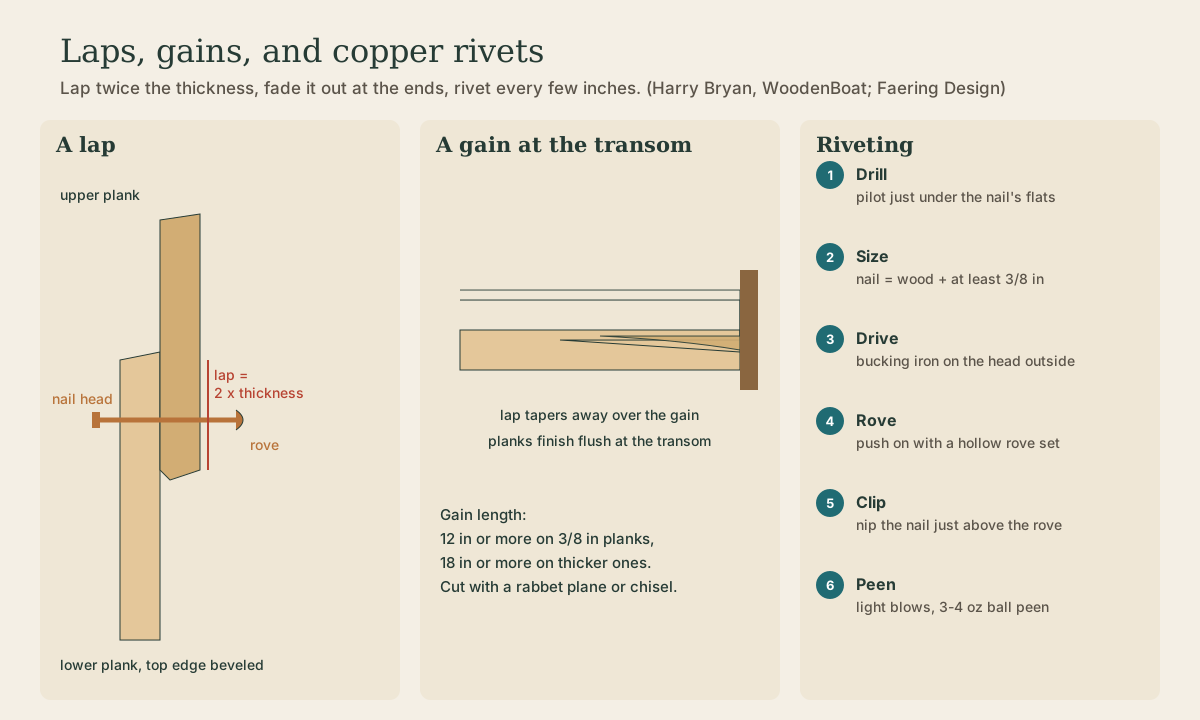
Where a plank laps onto the one below (or onto the bottom board), the lower piece’s edge is beveled so the upper plank lies flat against it. The bevel changes along the boat as the hull twists, so check it every foot or so by laying a batten across from the lower plank to where the next will sit, and plane until it fits. Harry Bryan recommends a full-length batten to guide the bevel between stations, and a lap width of about twice the plank thickness 4.
Quick check
Guide it with a long batten between stations.
Gains at the transoms
Near each transom, the laps can’t stay lapped: the planks must finish flush to fit tight against the transom’s edge. So for the last stretch of each lap you cut a gain, a long tapered rabbet in the edges of both planks, so the lap fades to nothing at the transom. Make the gain at least 12 inches long on 3/8-inch or thinner planking, 18 inches or more on heavier stock, using a rabbet plane or chisel 4.
Quick check
18 inches or more on heavier planking.
Hang and rivet the garboards
Clamp the garboard in place with your shop-made clamps, the way North House’s pram students do 5. Check that it lies fair (sight along it) and that the lap is even. Then drill and rivet along the lap, roughly every few inches, working from the middle toward the ends; the riveting procedure is in the next lesson. Do the second garboard to match, checking by measurement that the boat stays symmetrical.

Try it
Before cutting good stock, spile and fit a garboard from 1/4-inch plywood or cardboard. The template will show you where your spiling is off, at the cost of one sheet.
Lesson complete
Nice work.
Sources for this lesson
- 1Båt (eke, Fredrikstad Museum). Fredrikstad Museum, DigitaltMuseum. verified4.4 x 1.34 x 0.64 m; three bottom boards edge to edge plus four strakes per side; six frames; three thwarts on knees; thole cleats; sculling notch in the transom; stem knee inside the bow transom. A related record (0210214281679) has two skids instead of a keel.
- 2Båt (Holmsbupram FMT.0108). Museene i Akershus, DigitaltMuseum. verifiedPine on pine with frames; four strakes per side plus a bottom board, the bottom board lying under the two lowest strakes, typical of Holmsbu prams; four thole pins; one thwart bored for a mast; 5.46 x 1.42 m.
- 311' 9" Norwegian Sailing Pram. Small Boats Magazine. 2026. verifiedDesign by Simon Watts: 11 ft 9 in x 3 ft 6 in, 120-130 lb, 65 sq ft sail, Douglas fir planking, copper fastened. In traditional Norwegian building the planking is completed by eye before transoms or frames are installed; Watts supplies transom shapes plus two temporary molds. Sawn frames go in after planking. The keel plank is bent to rocker first.
- 4Harry Bryan. Thoughts on Lapstrake Planking. WoodenBoat. verifiedLap width about twice the plank thickness (1 inch for 1/2-inch planking); widest plank, lap included, 3 1/2 to 5 inches amidships. Gains at least 12 inches long on planking 3/8 inch or thinner, 18 inches or more on heavier, cut with a rabbet plane or chisel. Use a full-length batten to guide the lap bevel. Laps fastened with rivets or copper clench nails; rivets better in softwood because the rove spreads the load; steam-bent frames 1/2 inch or thinner best riveted.
- 5Techniques of Pram Boat Building: Old World Boatbuilding Traditions. North House Folk School. verifiedTeaches lofting by eye, bevels on watertight planking, compound bevels for framing, and riveting; students make wooden clamps, backing (bucking) irons, and rove sets from provided patterns; lumberyard lumber.